Basement Bar Cabinet Guide: Styles, Sizes, and What Drives Cost per Square Foot
You have the Pinterest board. You have the corner of the basement picked out. What you do not have is a clear answer on what a basement bar cabinet setup actually involves, what sizes fit a real St. Louis basement, and why one build costs double another. This guide covers seven decisions that turn bar cabinet inspiration into a buildable plan, from layout and cabinet style to the plumbing and electrical work hiding behind the pretty photos.
One note before the list. Cabinets are where a basement bar succeeds or fails. The countertop gets the compliments, but the cabinets set the layout, hold the sink and fridge, and eat the largest share of the budget. Get the cabinet decisions right and everything else follows.
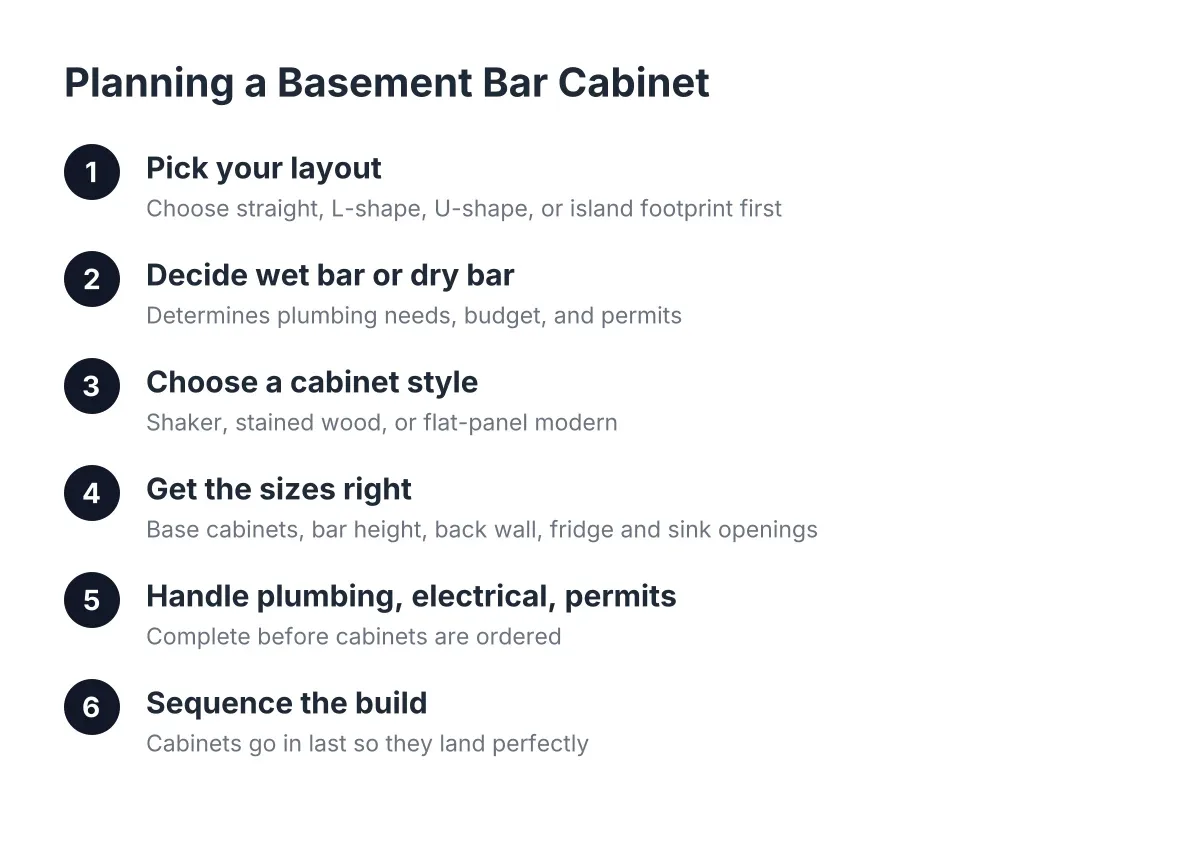
1. Pick Your Layout Before You Pick a Single Cabinet
The layout decides everything downstream, so settle it first. Most basement bars in St. Louis homes fall into one of four footprints: a straight wall bar, an L-shape, a U-shape, or a freestanding island bar with a back cabinet wall. A straight run along one wall needs the least floor space and the least plumbing rework. An L-shape adds seating and separates the bar from the rest of the finished basement.
Measure before you fall in love with a shape. A standard bar cabinet run is 24 inches deep, and you want at least 42 inches of clear aisle behind the bar so two people can pass. In addition, check ceiling height near ductwork; a soffit that drops to 6 feet 8 inches can kill a tall basement bar cabinet wall with glass uppers before you ever price it.
Basements complicate layouts in ways kitchens do not. Support columns, the furnace, and the stack line often sit exactly where the Pinterest photo puts the bar. A basement bar contractor who works lower levels every week will plan around a load-bearing wall or a lally column instead of pretending it is not there.
2. Decide Wet Bar or Dry Bar, Because It Changes the Whole Cabinet Package
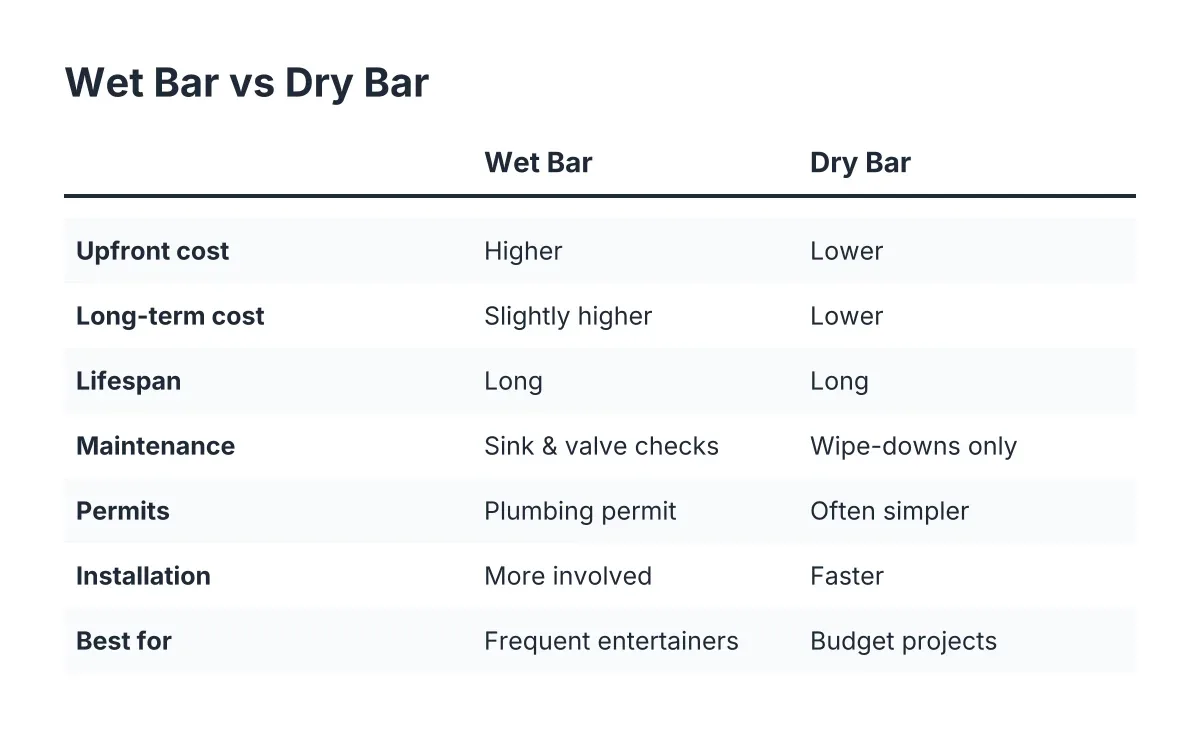
A wet bar has a sink and running water; a dry bar does not. That one decision changes your cabinet layout, your budget, and whether you need a plumbing permit. A wet bar cabinet run needs a sink base, supply lines, and a drain path, which in a basement usually means tying into an existing stack or adding an ejector pump if the drain sits below the sewer line.
A dry bar keeps costs down and still delivers most of the experience. You get the cabinet wall, the fridge, the counter, and the seating, without the plumbing rough-in. Imagine a homeowner who mostly serves bottled and canned drinks: a dry bar with a good under-counter fridge can cover most of what they actually need day to day.
However, if resale or rental value drives the project, the sink matters. Say a small landlord finishing the lower level of a two-family in south St. Louis wants the space to appraise as true finished living area with a wet bar. In that scenario, the plumbing cost buys a listing feature, not just convenience. The wet bar versus dry bar decision deserves ten minutes of honest thought about how you will actually use the space.
3. Choose a Basement Bar Cabinet Style That Matches How the Space Gets Used
Cabinet style sets the personality of the whole bar. As of 2026, three looks dominate basement bar cabinet design in the St. Louis market:
- Shaker in a dark paint color. Navy, forest green, or charcoal lowers with brass or matte black hardware. Forgiving of fingerprints, works with almost any countertop, and photographs well, which matters if impressing guests is part of the goal.
- Stained wood, often white oak or walnut tone. Warmer and more traditional; pairs well with a brick or stone back wall. Stained finishes hide wear better than painted ones in a space that sees spills and dropped bottle caps.
- Flat-panel modern. Slab doors, handle-free or with edge pulls, usually in a two-tone scheme. Clean and current, but scratches show more, so think about how rough the room's traffic will be.
Color deserves its own decision. Basements get less natural light than kitchens, so basement bar cabinet colors that look moody in a showroom can read black under recessed lighting. For example, test a sample door in the actual basement at night with the lights you plan to install, not in the daylight of a showroom.
Match the finish level to the room's job. An owner-occupant building a showpiece entertainment space can justify custom paint and glass uppers. A landlord finishing a rental basement is usually better served by durable stained shaker boxes that survive tenant turnover.
4. Get the Sizes Right: Base Cabinets, Bar Height, and the Back Wall
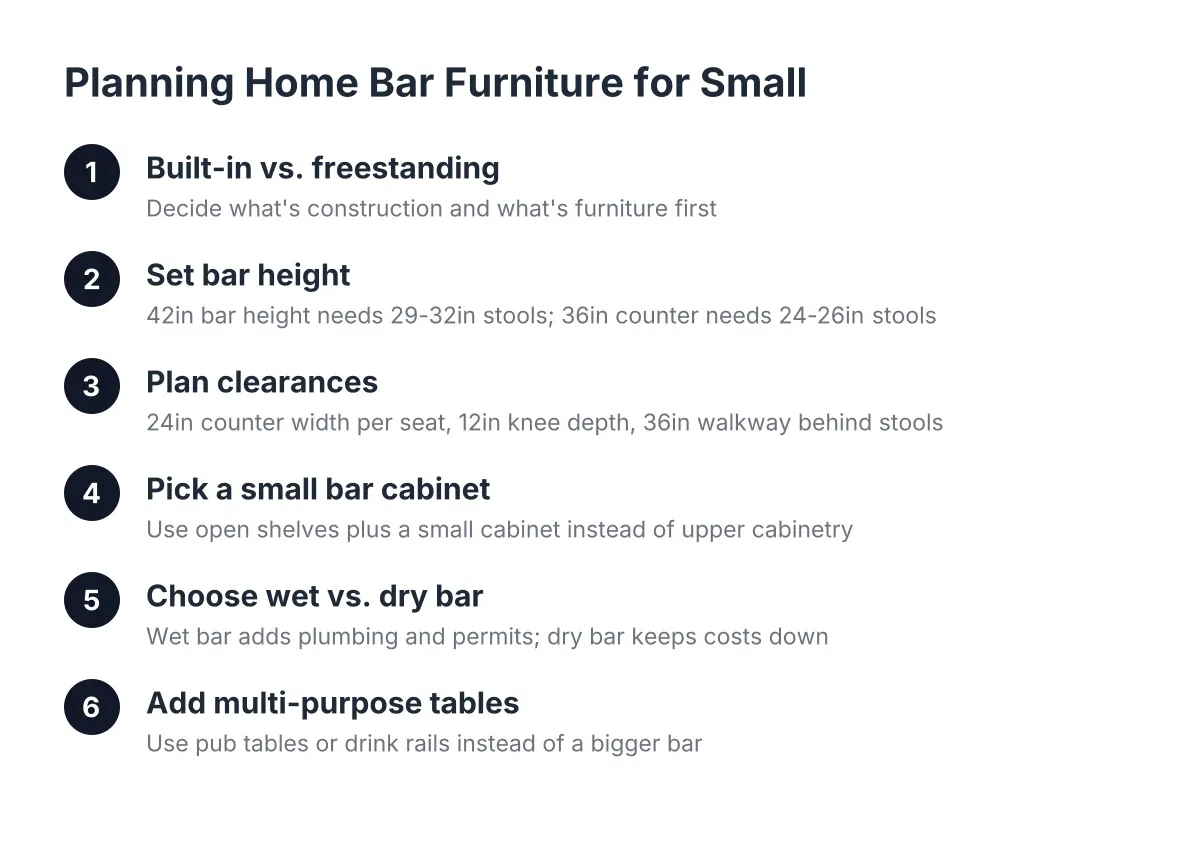
Bar cabinet sizing follows kitchen conventions with a few twists. Base cabinets run 34.5 inches tall and 24 inches deep, which puts the working counter at 36 inches. If you want a raised bar top where guests sit, that ledge sits at 42 inches, supported by a knee wall or brackets behind the base run.
Plan the run in standard widths. Cabinets come in 3-inch increments, and a workable small bar needs about 6 to 8 linear feet of base cabinets: a sink base or fridge opening, one drawer bank, and one door cabinet for storage. A fuller build with a back cabinet wall might run 10 to 14 linear feet total between the front bar and the wall behind it.
The back wall is where the design earns its photo. A basement bar cabinet wall typically stacks uppers or open shelving over a lower counter, with the fridge and glass storage below and bottle display above. Leave a 24-to-30-inch landing counter on the back wall; it is where drinks actually get made.
Sizing a Basement Bar Cabinet Around the Fridge and Sink
Appliance openings are fixed, so size them first. A standard under-counter beverage fridge needs a 24-inch opening with ventilation clearance; a kegerator usually needs the same plus a path to run the tap line up through the countertop. A basement bar cabinet with fridge space on the back wall, rather than under the front bar, keeps the compressor noise and heat away from where guests sit.
For the sink, a 24-inch sink base handles a standard bar sink with room for the trap. Skip the full kitchen sink; a 15-inch bar sink does the job and preserves counter space. If an ejector pump is required, plan where that basin sits before cabinets are ordered, not after.
5. Understand What Actually Drives Cost per Square Foot
Nobody can quote a basement bar honestly without seeing the space, so be suspicious of anyone who does. Instead of chasing a single number, understand the levers that move the cost per square foot of the bar area up or down:
- Cabinet grade. Ready-to-assemble boxes, semi-custom, and full custom occupy different price tiers, and the jump between tiers is the single biggest line-item swing in most bar builds.
- Wet versus dry. Adding a sink brings supply lines, drain work, possibly an ejector pump, and a plumbing permit. That is real money and real scope.
- Linear feet of cabinetry. An 8-foot straight bar and a 14-foot L with a full back wall are different projects, even in the same room.
- Electrical scope. Dedicated circuits for the fridge and kegerator, under-cabinet lighting, pendants over the bar top, and outlet placement all add rough-in work.
- What the basement needs first. If the space is unfinished, the bar rides on top of framing, insulation, subfloor, drywall, and heating. A plywood subfloor under the bar area protects cabinets from slab moisture and is cheap insurance compared to replacing swollen cabinet bases later.
- Countertop material. Quartz, butcher block, and laminate span a wide range, and bar tops are small enough that upgrading material costs less than it would in a kitchen.
Therefore, when you compare bids from basement bar contractors near you, compare scope line by line, not bottom lines. A lower bid that excludes the ejector pump, the permit, or the subfloor is not actually lower.
6. Handle Plumbing, Electrical, and Permits Before Cabinets Are Ordered
Rough-in work happens inside the walls and under the slab, so it must be finalized before cabinet boxes arrive. Basement bar plumbing requirements depend on where your existing drain lines run. If the bar sink can drain by gravity to the stack, the plumbing stays straightforward. If not, an ejector pump basin gets set into or on the slab, and that placement has to coordinate with the cabinet layout.
Do I need a permit for a basement bar? In St. Louis, adding plumbing or new electrical circuits generally triggers permit and inspection requirements, and a finished basement project as a whole usually involves permits regardless of the bar. Permit rules and fees vary by municipality within the metro, so confirm requirements for your specific address rather than assuming. A local contractor who pulls basement permits regularly will fold this into the schedule instead of treating it as a surprise.
Electrical planning is easy to shortchange. Count your loads: fridge, kegerator, TV, under-cabinet lights, pendants, and outlets along the bar top for blenders and phone chargers. Running those circuits during rough-in costs a fraction of opening finished drywall later.
7. Sequence the Build So the Cabinets Go In Last and Land Perfectly
Order of operations protects your investment. However tempting it is to see cabinets go in early, the correct sequence in a basement build runs: framing, rough plumbing and electrical, inspection, insulation, drywall, subfloor and flooring, paint, then cabinets, countertop, and final plumbing and electrical trim. Cabinets installed before flooring and paint collect damage from every trade that follows.
Template the countertop after cabinets are set, not before. Basement slabs are rarely level, and installers shim base cabinets to dead level before the top is measured. A hypothetical build in a 1950s ranch in south county might find the slab out of level by an inch over a 10-foot run; the cabinets absorb that with shims, and nobody ever sees it.
Finally, keep the finish work in mind when you review the basement bar design as a whole. Crown or scribe molding where the cabinet wall meets an uneven basement ceiling, filler panels at the walls, and toe kicks that align with the flooring are the details that separate a built-in bar from a row of boxes pushed against a wall.
Quick Reference: Matching the Bar to the Owner
Different owners should build different bars, and being honest about which one you are saves money.
- The entertainer homeowner: wet bar, semi-custom or custom painted cabinets, quartz top, back cabinet wall with display shelving, and lighting as a design feature. Budget flows to finishes guests see and touch.
- The value-add landlord: dry bar or simple wet bar, durable stained stock cabinets, laminate or butcher block top, and every dollar of savings redirected to permits, subfloor, and heating so the space counts as legitimate finished living area.
- The phased builder: rough in plumbing and electrical for a wet bar now, install a dry bar cabinet run today, and add the sink when the budget allows. The rough-in costs little during construction and preserves the option.
One honest caution to close on. If your basement has active water intrusion, a badly out-of-level slab, or questions about a load-bearing wall near the bar location, bring in a professional assessment before ordering a single cabinet. A home bar cabinet package is the reward at the end of the project, not a way to cover problems underneath it. Solve the structure and moisture first, and the bar you build will still look sharp when the next owner tours the basement.
If you need basement finishing, STL Basement Finishing can help.
Prefer to talk it through? Call (314) 916-6297 — a quick call is usually the fastest way to get a straight answer for your situation.