Dry Bar Ideas for Basements: Cabinet Dimensions and Placement Checklist
If you are collecting dry bar ideas for a basement in St. Louis, the pictures are the easy part. What trips most homeowners up is the math underneath: how deep the cabinets need to be, how much clearance a stool actually takes, where the bar can sit without blocking a load-bearing wall or a mechanical room, and whether any of it needs a permit. This checklist walks through the dimensions and placement rules that turn a saved photo into a buildable plan, written for people who want the finished space to be legal, sellable, and done right the first time.
A quick note on terms before the list. A dry bar has no sink, so there is no plumbing to run or permit for on the plumbing side. That makes it the simpler, lower-cost choice for most basement bar projects, and it is why dry bar ideas dominate basement plans in the $15,000 to $45,000 finishing range. Electrical work for outlets and lighting still falls under your basement finishing permit in most cases, which we will get to in item eight.
1. Cabinet Depth and Sizing: Standard Dimensions for Dry Bar Ideas
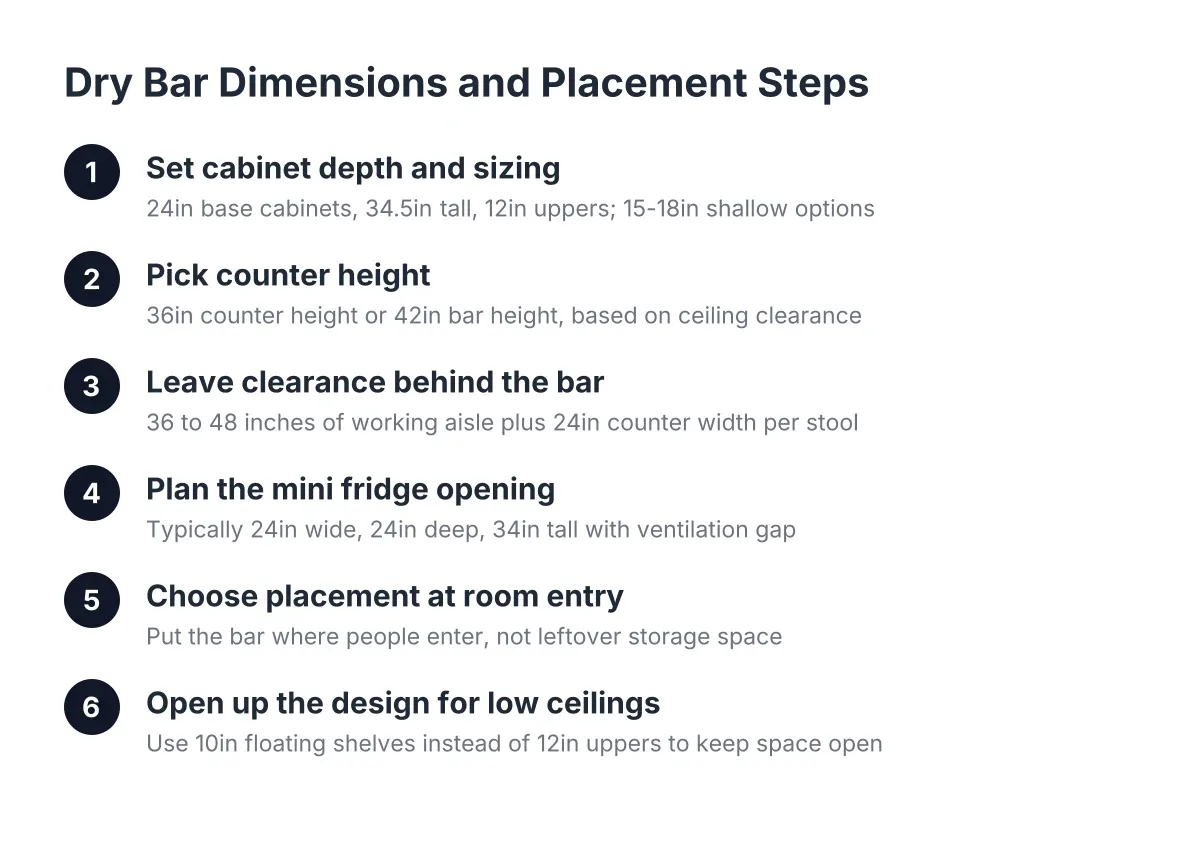
Base cabinets for a dry bar run 24 inches deep and 34.5 inches tall before the countertop, the same as kitchen cabinets. Upper cabinets or shelves run 12 inches deep. These are the numbers to sketch with first, because stock cabinetry at these sizes costs far less than custom boxes.
However, basements sometimes reward going shallower. A 15 or 18 inch deep base cabinet still holds glassware, bottles, and a small appliance, and it buys back a foot of floor space in a tight room. Small bar cabinets for home use come in these reduced depths off the shelf, so shallow does not have to mean custom.
Measure before you commit. A typical St. Louis basement has a furnace, a water heater, ductwork soffits, and support columns that all eat into usable wall length. Pull a tape on the actual wall, not the floor plan.
2. Set Counter Height at 36 or 42 Inches, and Know Why It Matters
A dry bar counter sits at one of two standard heights. Counter height is 36 inches, which takes a 24 to 26 inch stool. Bar height is 42 inches, which takes a 28 to 30 inch stool. Mixing these up is the single most common furniture mistake homeowners make after the build is done.
Basement ceiling height should drive the choice. If your finished ceiling will land around 7 feet after the subfloor and ceiling treatment go in, a 36 inch counter with open shelving above keeps the space from feeling compressed. With 8 feet or more, a 42 inch raised bar top with a seated side works fine.
Remember that a plywood subfloor and finished flooring raise the floor an inch or more. That inch comes out of your headroom and changes where upper shelves can go, so lock in floor buildup before ordering cabinets.
3. Leave 36 to 48 Inches of Clearance Behind the Bar
The working aisle behind a dry bar needs 36 inches minimum, and 42 to 48 inches if two people will ever stand back there or if cabinet doors and a fridge door swing into the aisle. On the guest side, plan 24 inches of counter width per stool and 36 inches behind seated stools for walk-by traffic.
Therefore, a straight-run bar with three stools and a working aisle needs a footprint of about 6 feet deep by 7 feet wide before you add anything else. Run that number against your actual wall before you fall in love with an L-shaped layout from Pinterest. Most designs for small spaces fail at exactly this step, not at the design stage.
4. Plan the Mini Fridge Opening Before You Order Cabinets
An undercounter beverage fridge needs a specific cabinet opening, typically 24 inches wide, 24 inches deep, and 34 inches tall, with a gap for ventilation unless the unit is front-venting. A bar cabinet with mini fridge space built in solves this cleanly, but only if you pick the fridge first and build the opening to its spec sheet.
In addition, that fridge needs its own thinking on power. A dedicated outlet inside the cabinet run, placed so the plug does not force the fridge to sit proud of the cabinet face, is a detail a basement bar contractor handles routinely and a DIY plan often misses. Compressor fridges also hum; placing the fridge away from a TV seating area keeps the noise out of movie night.
5. Put the Bar Where People Enter, Not Where Storage Used to Be
A common layout mistake is leaving the area at the bottom of the stairs as unfinished storage and pushing the finished space off to one side. The base of the stairs is the first thing anyone sees, so it is the strongest candidate for a focal point like the bar itself.
Placement checklist for the bar location:
- First choice: visible from the bottom of the stairs, so the bar greets people as they come down
- Keep it on the same plane as a half wall or TV wall where possible; aligning those elements makes the whole basement read as one designed space
- Avoid walls shared with bedrooms above if late-night use is likely
- Stay clear of the furnace room door, the electrical panel (which needs 36 inches of clear working space in front), and any sump pit access
- Never enclose or notch a load-bearing wall or support column to fit cabinetry without a framing assessment first
That last point matters in older St. Louis housing stock. If the only wall long enough for your bar involves moving a post or opening a bearing wall, you need a load-bearing wall assessment before design goes any further, and that work will involve a permit.
6. Design Dry Bar Ideas That Keep a Low Basement Feeling Open
Open floating shelves instead of upper cabinets are the highest-impact move for below-grade rooms. Uppers at 12 inches deep loom over a bar in a 7 to 8 foot ceiling; floating shelves at 10 inches deep hold the same glassware and keep the wall visually light. Floating shelves also cost less, since shelving runs cheaper than cabinet boxes per linear foot.
Two more finishing moves separate a built-in bar from a furniture piece pushed against a wall. First, match the cabinet paint to the basement wall color, or to a deliberate accent used elsewhere in the room, rather than treating the bar as its own island of color. Second, carry one design element, such as slat paneling or the shelf material, up the staircase wall so the style previews itself before guests reach the bottom. Both are low-cost details that read as higher-end basement bar design.
7. Use the Dead Zones: Under-Stair and Corner Dry Bar Layouts
The space under the basement stairs is a natural fit for bar functions. Basements hold a stable, cool temperature year round, which makes under-stair wine or bottle storage a better use of that triangle than boxes of holiday decorations. A stepped cabinet run under the stringer, with the tallest section holding the fridge, uses every inch.
For example, suppose a homeowner in South County closes on a 1960s ranch with a 900 square foot unfinished basement and a $35,000 renovation budget. Instead of a full wall bar, their contractor fits a 6 foot dry bar into the under-stair alcove: shallow 18 inch base cabinets, a 24 inch fridge opening at the tall end, floating shelves on the adjacent wall, and a 36 inch counter. In that scenario the bar consumes space that would have stayed unfinished anyway, and the budget stays pointed at the bigger-ticket items, the subfloor, flooring, and a basement bathroom.
8. Know Which Parts of a Dry Bar Need a Permit in St. Louis
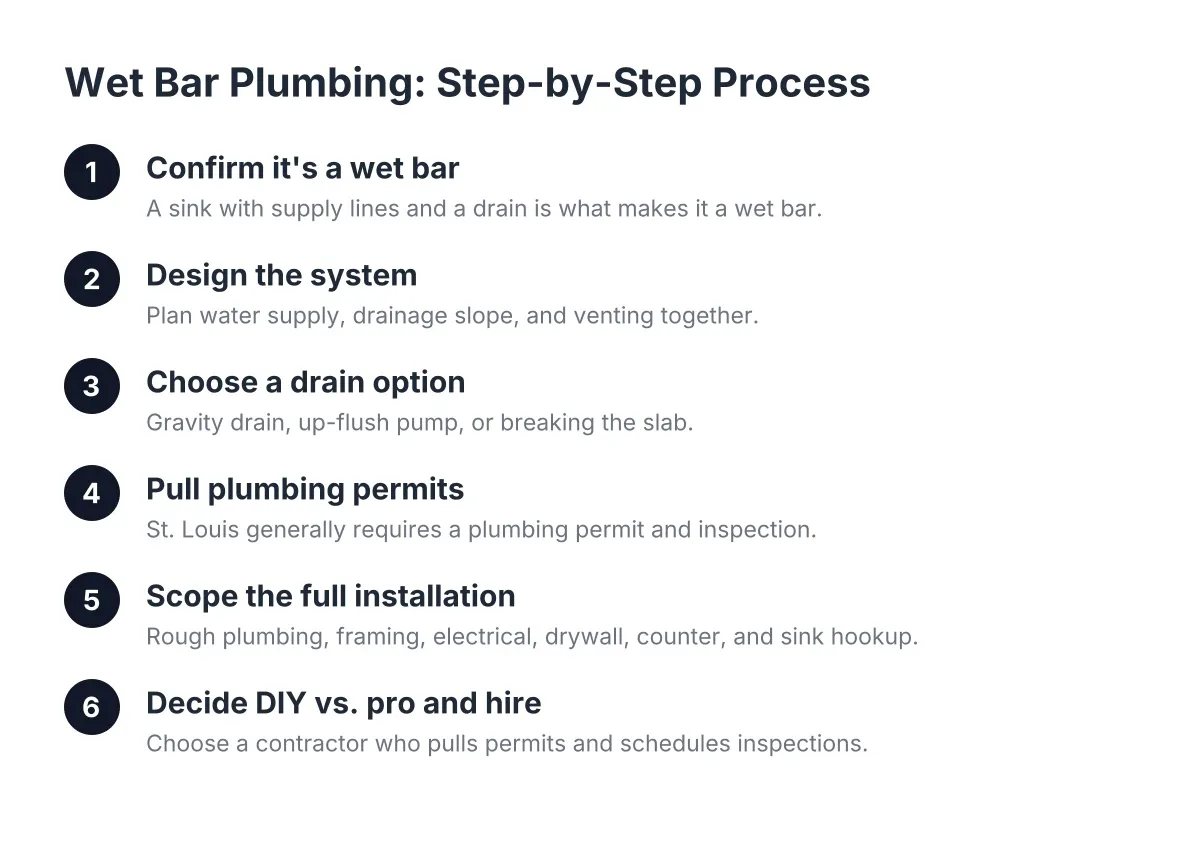
A dry bar itself, meaning cabinets and a countertop, is furniture-level work. However, the project around it usually is not. Finishing a basement in St. Louis or St. Louis County generally requires a building permit, and new electrical circuits for bar outlets, fridge power, and lighting need electrical permits and inspection. If you later decide you want a sink, you have moved into wet bar territory, which adds plumbing permits and drain and vent requirements. That is a meaningful scope change, not an upgrade to tack on mid-build. Wet bar cabinets with sink cutouts also lock you into plumbing wall locations early, which is another reason to settle the wet bar versus dry bar question before framing starts.
If you are weighing which way to go, the deciding questions are distance to existing drain lines, whether you actually rinse glasses downstairs or carry them up anyway, and budget. A dry bar with a fridge covers most entertaining without any plumbing scope.
One honest caution for the permit-wary: a contractor who waves off permits with "we don't usually need one for basements" is a red flag, not a convenience. Unpermitted basement finishes surface at resale, when a buyer's inspector or your realtor asks for the paperwork. Ask any basement bar contractor you interview who pulls the permits, who schedules inspections, and whether the permit cost is in the bid. The right answer is that they handle all three.
9. Sequence the Build So the Bar Does Not Get Boxed In
Cabinet dimensions only work if the rough-in happens in the right order. Electrical boxes for the fridge outlet, counter-height outlets, and shelf lighting all go in at framing, before drywall. The plywood subfloor and flooring go down before cabinets, so the cabinet height math stays true. Countertop templating happens after cabinets are set.
As a result, a dry bar added to an already-finished basement costs more per foot than one planned into the original basement finishing scope, because walls get opened twice. If a finished basement is part of your move-in plan for a recently purchased home, design the bar now even if you build it in a later phase; rough in the wiring while the walls are open and the cost is marginal.
10. Pressure-Test the Plan With a One-Page Dimension Checklist
Before you price anything, put these numbers on one page and walk the basement with a tape measure:
- Wall length available for the bar run, measured around columns, soffits, and panel clearances
- Finished ceiling height after subfloor buildup and ceiling treatment
- Counter height chosen, 36 or 42 inches, and matching stool height
- Base cabinet depth, 24 inches standard or 15 to 18 inches shallow
- Fridge opening dimensions from the actual spec sheet of the unit you will buy
- Working aisle of 36 to 48 inches behind the bar
- 24 inches of counter per stool, 36 inches behind seated stools
- Outlet locations for fridge, countertop, and lighting
- Permit scope: building permit for the finish, electrical permit for new circuits, plumbing only if a sink enters the plan
If every line checks out, the Pinterest board becomes a scope a contractor can price without guesswork. If two or three lines fail, you have found that out on paper instead of mid-build, which is exactly what this stage is for.
One limitation worth stating plainly: this checklist covers layout and dimensions, not structural or moisture conditions. If your slab shows dampness, your layout requires touching a load-bearing wall, or your panel is near capacity, bring in a basement finishing contractor or the relevant licensed trade before you finalize the design. Those are the variables that change cost and permitting the most, and they are cheap to assess early and expensive to discover late.
If you need basement finishing, STL Basement Finishing can help.
Prefer to talk it through? Call (314) 916-6297 — a quick call is usually the fastest way to get a straight answer for your situation.