Subfloor Installation Before Flooring: How to Do It Right Over a Basement Slab
If your basement has ever taken on water, you already know the stakes. Skipping subfloor installation before flooring is one of the most common ways a finished basement fails, and it fails quietly: a musty smell after a heavy rain, cupped planks, carpet that never smells right again. This guide walks through the process step by step, written for basements with a subfloor over concrete slab, not for above-grade rooms where moisture barely matters.
That distinction is the whole point. Advice written for a second-story bedroom does not account for a slab that sits on damp St. Louis clay and wicks moisture upward year-round. A proper basement subfloor creates a thermal break and an air gap between cold concrete and your finished floor, so the flooring stays dry, warm, and flat. Here is how contractors approach it, and how to check the work if you are doing it yourself.
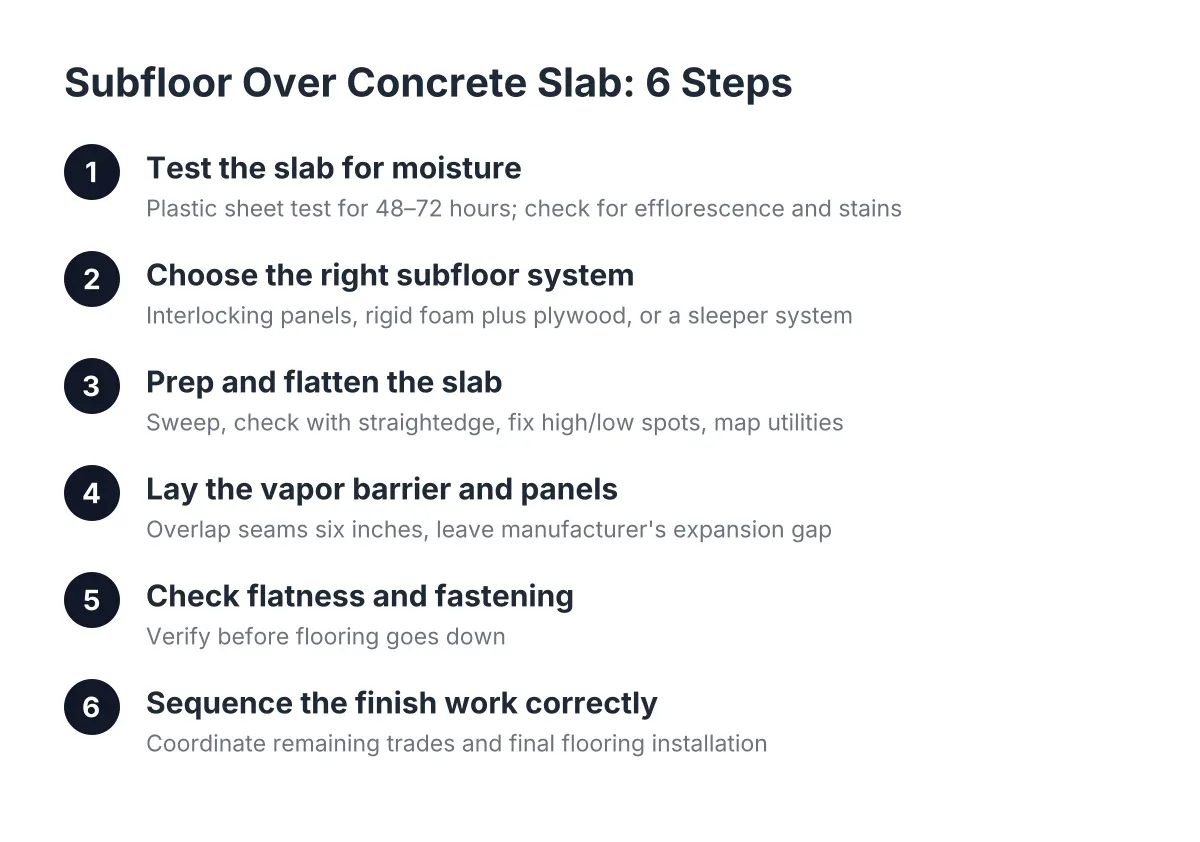
Step 1: Test the Slab for Moisture Before You Buy Anything
Do not trust "it looks dry." Concrete can read dry to the touch in August and sweat through March. A slab that passed a glance in a home inspection can still push enough vapor to rot a wood subfloor within a few years.
The simplest check is the plastic sheet test. Tape a two-foot square of clear plastic sheeting to the slab, seal all four edges, and leave it for 48 to 72 hours. If you find condensation under the plastic or a dark spot on the concrete, the slab is transmitting moisture and your subfloor system needs to account for it.
Also walk the perimeter after a hard rain. Look for efflorescence (white mineral staining), damp corners, and stains at the base of the foundation walls. If water actively enters the basement, stop here. Drainage, grading, or waterproofing has to be fixed first; no subfloor product is designed to sit in standing water. A contractor who quotes you flooring without asking about water history is repeating the mistake that burned you last time.
Step 2: Choose the Right Subfloor System for a Concrete Slab
The best subfloor for a basement depends on your ceiling height, your moisture test results, and what flooring goes on top. Three approaches cover most St. Louis basements:
- Interlocking subfloor panels. Two-foot squares of OSB or plywood bonded to a dimpled plastic or foam base. The dimples create an air gap over the slab, which lets incidental moisture dry instead of soaking the wood. Fast to install and forgiving on slightly uneven slabs.
- Rigid foam plus plywood subfloor. Sheets of rigid foam insulation laid over a vapor barrier, topped with tongue-and-groove plywood fastened through to the slab. This gives the best thermal break, which matters when the basement will be a bedroom, office, or rental unit someone lives in daily.
- Sleeper system. Pressure-treated lumber strips laid flat on the slab with plywood over top. Traditional, but it eats more ceiling height and takes longer, so it has largely given way to the first two options.
For a landlord finishing a lower-level unit, the panel systems usually win on speed and predictable material cost per square foot. For a homeowner planning a basement bar or family room over a slab that tested damp, the foam-and-plywood build with a continuous vapor barrier is the more conservative choice.
One honest trade-off: every subfloor system costs ceiling height, typically one to two and a half inches depending on the assembly. If your basement is already tight on headroom, measure before you commit, because St. Louis code sets minimum ceiling heights for finished living space.
Why Installing a Subfloor Over Concrete Slab Prevents Water Damage
Some flooring can go straight on concrete. Epoxy paint for a basement floor, tile, and certain vinyl products rated as waterproof basement flooring all tolerate direct slab contact. That is a legitimate path for a utility room or workshop; a coat of epoxy in the mechanical room also keeps concrete dust from tracking into the finished space.
However, for living space the slab-direct route means cold floors and no drying path if water ever gets in. Even a home with a vapor barrier under the slab benefits from a subfloor over concrete slab, because the subfloor protects the finished renovation from future moisture events, not just ground vapor. A vapor barrier placed under a concrete slab is meant to block moisture transmission from the ground into the concrete above, according to W. R. Meadows, but it does nothing about a burst supply line or a backed-up floor drain.
Step 3: Prep and Flatten the Slab
Sweep and vacuum the slab, then check it with a long straightedge, six feet or more. Mark every high spot and low spot. Low areas deeper than about a quarter inch over six feet need floor leveling compound; high spots need grinding. A subfloor installed over a wavy slab telegraphs every dip into the finished floor, and click-together flooring will separate at the joints.
Next, locate anything hidden below or routed across the slab. Floor drains must stay accessible, and cleanouts cannot be buried under plywood. Cutting into a hidden plumbing line during subfloor work turns a weekend project into an expensive repair, so map utilities before a single fastener goes in. This is also the stage where a load-bearing wall assessment happens if your finishing plan moves or adds walls, since posts and footings interact with the floor plan.
Step 4: Lay the Vapor Barrier and Panels
Roll out the vapor barrier if your system calls for a separate one, overlapping seams by at least six inches and taping them. Run it a few inches up the wall; you can trim it after baseboard goes on. Integrated panel systems skip this step because the moisture barrier is built into the panel base.
Start panels in a corner and leave the expansion gap the manufacturer specifies at every wall, usually about a quarter inch. Stagger the seams row to row the way you would with plywood sheathing. Dry-fit the first two rows before fastening anything, because a crooked start compounds across the room.
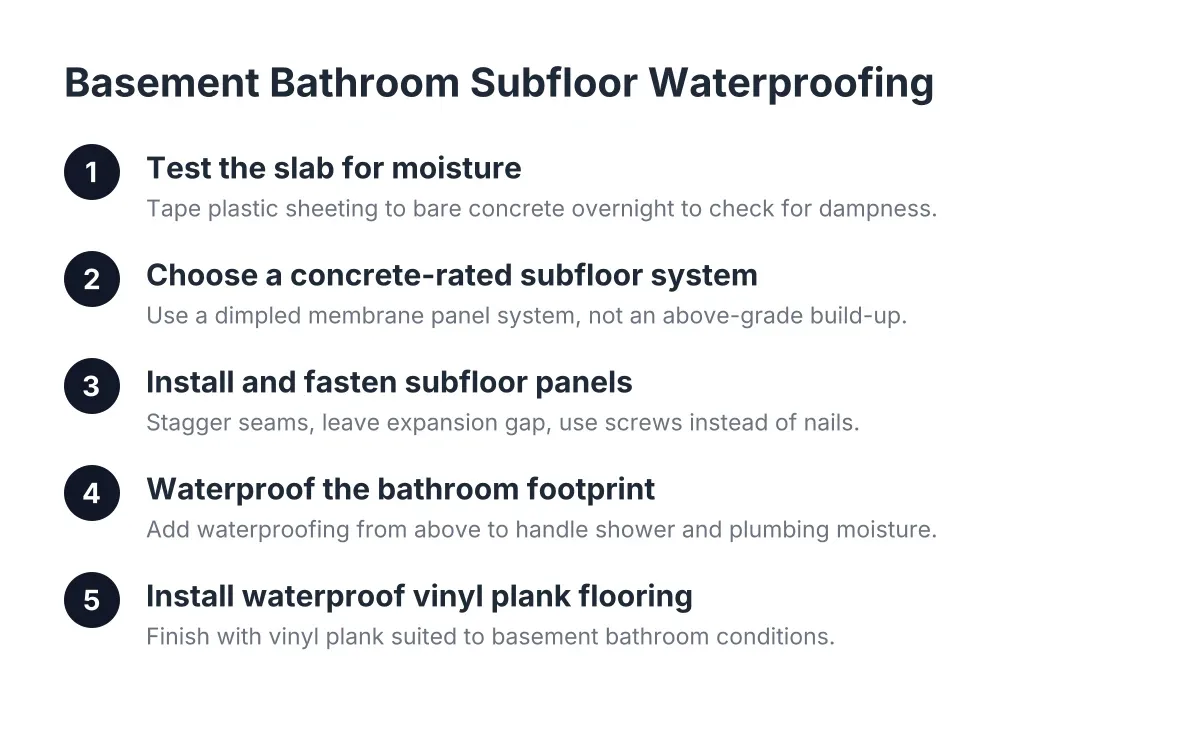
For foam-and-plywood assemblies, lay tongue-and-groove plywood over the foam with seams staggered, then fasten through to the concrete with masonry screws on the spacing the assembly requires. Standard subfloor screws are for wood framing; over concrete you need concrete-rated fasteners, drilled with a hammer drill. Mark your fastener layout on the plywood face before you start so rows stay straight and none get missed. Screws or nails for subfloor is an easy call here: screws, always, since nails back out and squeak.
Step 5: Check Flatness and Fastening Before Flooring Goes Down
Before any finished flooring arrives, verify the subfloor the same way you verified the slab. Run the straightedge across the field in several directions. Walk every square foot and listen for movement, squeaks, or panels that rock. Fix problems now; the fix costs one screw today and a torn-up floor later.
Also confirm every fastener sits flush or slightly below the surface. A proud screw head will telegraph through vinyl plank and can hole carpet pad. This checkpoint is where careful subfloor installation before flooring pays off, because flooring manufacturers write flatness tolerances into their warranties and a failed subfloor voids them.
Step 6: Sequence the Finish Work Correctly
Order of operations matters more in a basement than people expect. With a subfloor system that provides its own thermal break and airspace, the finishing sequence simplifies: vapor barrier considerations are handled, walls and drywall go up, and vinyl plank can go directly on the subfloor afterward.
Two sequencing rules worth knowing. First, if framed walls sit on top of a floating subfloor, follow the subfloor manufacturer's guidance so moisture behind walls or under the floor can still escape and dry. Second, trim order depends on flooring: install trim before carpet goes down, but after vinyl plank. Getting this backward means pulling and re-cutting baseboard.
Flooring choice on top is its own decision. Carpet is close to essential for a kids' play space, while vinyl plank handles a basement bar or rental unit that sees spills and turnover.
What Contractors Do Differently on Basement Subfloor Installation
A basement-focused contractor treats the subfloor as a moisture decision first and a carpentry job second. That means moisture testing before a proposal, a written spec for the exact system and vapor barrier, and honest talk about whether waterproofing has to happen before finishing can start. If you have been burned before by someone who laid carpet over a damp slab and disappeared, those are the questions that separate a real basement finishing bid from a flooring sale.
For example, suppose a landlord in St. Louis picks up a duplex where the previous owner glued carpet straight to the basement slab. It smells musty after every storm. A typical crew would pull the carpet, run a plastic sheet test, grind two high spots, and install a subfloor over concrete slab with taped seams and vinyl plank on top. In that scenario the basement subfloor installation adds a day or two to the schedule and a predictable line to the budget, and the unit stops smelling like a basement.
Cost varies with system choice, slab condition, and square footage, and permit requirements in St. Louis, MO depend on the scope of the full finishing project, so get those answers in writing before work starts. And one clear limit on DIY: if your moisture test fails, or if water has ever pooled on the slab, bring in a professional to diagnose drainage before anyone quotes you on subfloor installation before flooring goes in. Covering a wet slab is not finishing a basement; it is scheduling a demolition.
If you need basement finishing, STL Basement Finishing can help.
Prefer to talk it through? Call (314) 916-6297 — a quick call is usually the fastest way to get a straight answer for your situation.