DIY Epoxy Basement Floor vs. Hiring a Pro: Equipment, Skill, and Warranty Risks
A DIY epoxy basement floor looks simple on the kit box: clean the concrete, mix two parts, roll it on, scatter some flakes. On a St. Louis basement slab, the job is harder than that. Concrete below grade handles moisture differently than a garage floor, and the failure mode is not a bad paint job. It is a coating that peels in sheets six months after you finished the basement above it. Understanding the risks of a DIY epoxy floor project is essential before starting. This guide walks through the real decision, step by step: what the DIY route requires, where the skill and equipment gaps bite, and when hiring a contractor or choosing a subfloor instead is the smarter move.
If you have ever had water come in after a heavy rain, this decision matters even more. Epoxy is not waterproofing, and it will not fix a wet basement. Done wrong, it can trap moisture and make the problem harder to see until it is a bigger problem.
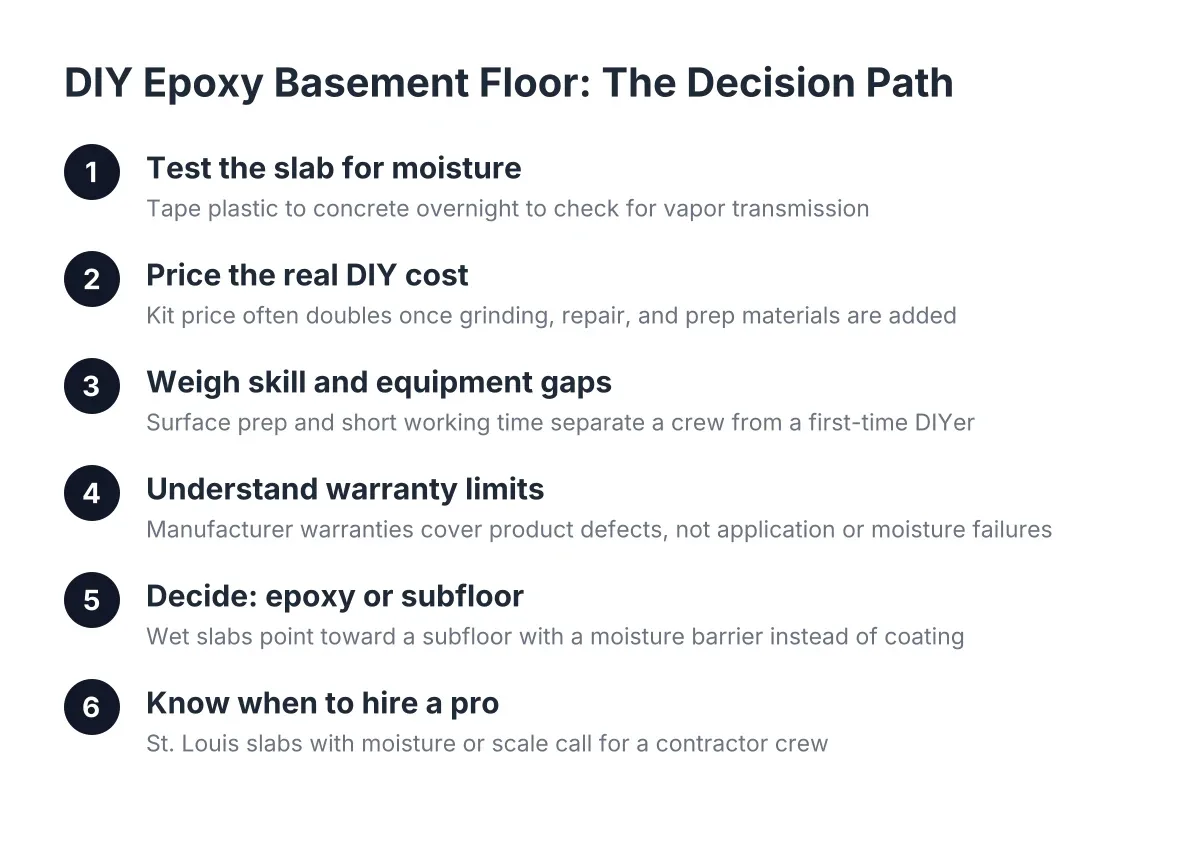
Step 1: Test the Slab for Moisture Before You Buy Anything
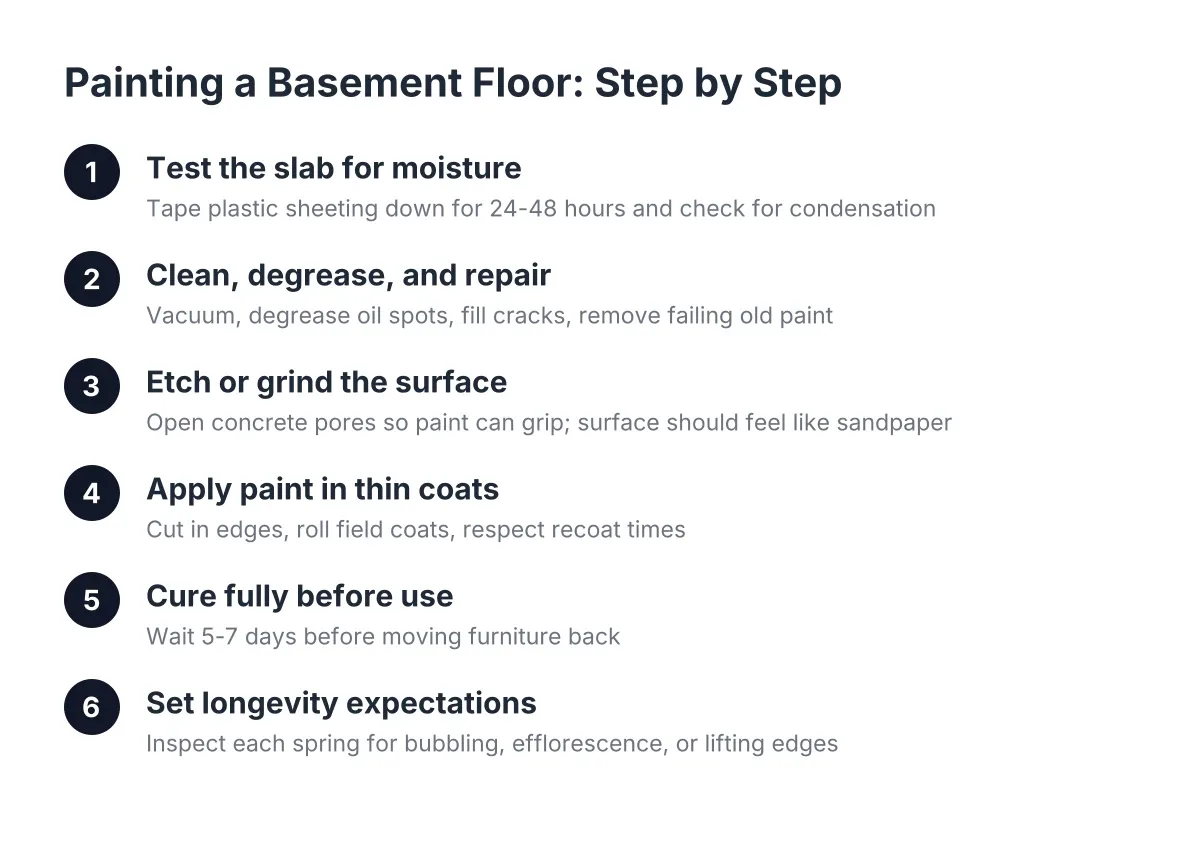
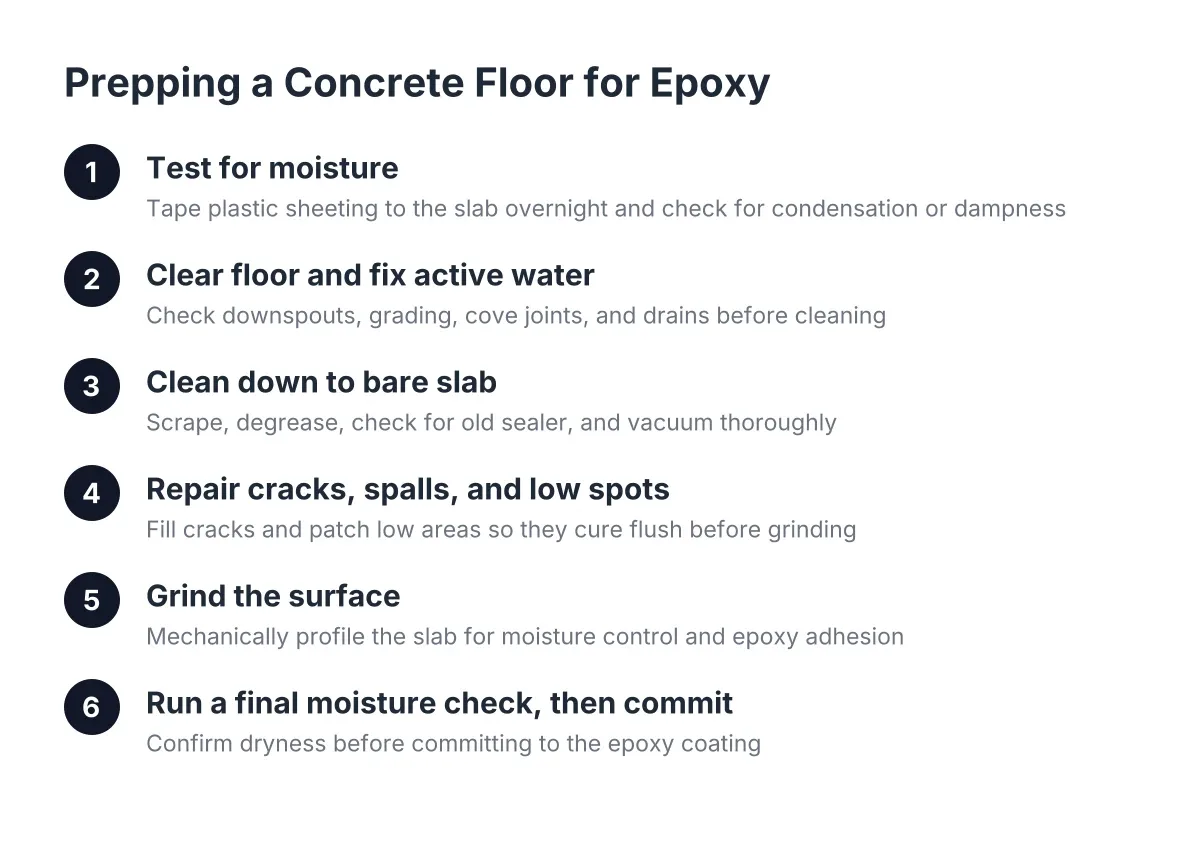
Start with a moisture test, because this is where most basement epoxy failures begin. Tape a plastic garbage bag or a square of plastic sheeting tightly to the concrete and leave it overnight. If you find condensation or a dark, damp spot under the plastic the next morning, moisture is moving up through the slab, and there is likely no vapor barrier beneath it.
Why does this matter so much? A vapor barrier placed under a concrete slab is meant to block moisture transmission from the ground into the concrete above, according to W. R. Meadows. Many older St. Louis homes were built before that was standard practice. Without one, ground moisture migrates up through the slab continuously, and an epoxy coating becomes the first thing in its path.
Epoxy that cures over a damp slab can blister or lose adhesion. For context, NRMCA notes that blisters in cured concrete itself are caused by trapped air, often related to vapor conditions under the slab. The same physics works against a coating: trapped vapor pressure pushes the film off the concrete.
If your plastic bag test comes back wet, stop here. A coating is the wrong product for that slab. A basement subfloor with a moisture barrier, or addressing drainage first, is the honest answer; no kit on the shelf changes that.
Step 2: Common Risks When Pricing DIY Epoxy Floor Work
How much does a DIY epoxy basement floor actually cost? Budget for more than the kit. The kit price covers the resin and flakes; the grinding, repair, and prep materials are what make the number realistic, and they often double it. For a typical St. Louis basement, think in terms of hundreds of dollars in materials and tool rental, not just the box price. DIY epoxy floor risks include overlooking these hidden costs and underestimating the equipment investment.
Here is what a complete DIY materials and equipment list looks like:
- A two-part epoxy kit sized for your square footage, plus 10 to 15 percent extra for a second coat on porous spots
- A floor grinder or heavy-duty shot blaster rental, because acid etching alone rarely gets below-grade concrete to the right profile
- Diamond grinding discs, which wear out faster than rental counters suggest
- Concrete patch material for cracks and spalls; sand mix gives a smoother finished patch surface than standard concrete mix
- A moisture-mitigating primer if your slab reads damp, which costs nearly as much as the epoxy itself
- Respirator, spiked shoes, rollers, mixing drill, and squeegee
The cheapest kits are water-based epoxy paint, which is closer to porch paint than true epoxy. These are the products behind most of the peeling-floor stories you read. If you go DIY, a 100 percent solids epoxy holds up far better, but it also has a shorter working time and punishes slow rollers.
Step 3: Weigh the Skill and Equipment Gap Against a Pro Crew
Can you DIY epoxy floors in a basement? Yes, physically, a capable homeowner can grind, patch, and roll a slab. The honest question is whether you can hit the prep standard that keeps the coating stuck for ten years instead of ten months. That standard is where the gap between a weekend DIYer and a crew shows up. DIY epoxy floor risks emerge from surface prep mistakes and the skill required to achieve professional-grade results.
Surface prep is the whole job. Pros grind the slab to a specific concrete surface profile, vacuum with HEPA equipment, and check moisture with meters rather than guesswork. A DIYer renting a grinder for the first time tends to leave hard-troweled shiny spots, and those spots are exactly where the coating lets go.
Working time is the second gap. Once the two parts are mixed, 100 percent solids epoxy gives you a limited window before it kicks in the bucket. A typical crew runs three or four people: one mixing, two rolling, one back-rolling and broadcasting flake. One person doing all four jobs in a 700 square foot basement is racing the clock, and seams between batches show.
Basements are forgiving places to practice carpentry, where a slightly imperfect cut gets hidden behind trim. A floor coating is the opposite. Every holiday, roller mark, and fisheye sits in plain view under your future basement bar lighting.
Step 4: Understand What a Warranty Does and Does Not Cover
Read the warranty language before you decide, because this is where the DIY route carries risk that never shows up in the kit price. Manufacturer warranties on retail epoxy kits typically cover product defects only. If the coating peels because of surface prep or slab moisture, that is an application failure, and application failures are on you.
In practice, that means the most common basement failure modes are excluded from DIY coverage:
- Peeling or delamination from moisture vapor pushing up through the slab
- Adhesion loss on poorly profiled or contaminated concrete
- Hot tire or furniture marks, staining, and amber yellowing from UV exposure
- Any damage traced to cracks or slab movement
A contractor's workmanship coverage works differently. When a professional installer preps the slab, they own the prep. If the floor fails because of something the installer should have caught, you have someone to call. With a DIY epoxy basement floor, the person responsible for the moisture test, the grind, and the mix ratio is you, and the recourse if it fails is doing it again.
Consider a hypothetical: say a homeowner in South County rolls a kit over a slab that passed a quick touch test in dry August. The following spring, after a wet stretch, vapor drive lifts the coating near the walls in palm-sized blisters. In that scenario, the kit manufacturer points to the application instructions, the homeowner regrinds and recoats, and the second attempt fights contamination from the first. That rework often costs more than hiring it out the first time.
Step 5: Decide Between Epoxy and a Basement Subfloor
Match the floor system to how you will use the space, not just to the slab. Epoxy makes sense for utility rooms, workshops, and laundry areas. Coating a utility room floor even helps contain concrete dust so it does not migrate into finished living space every time the door opens. For a finished entertainment space, epoxy leaves you with a hard, cold, echo-prone surface.
In contrast, basement subfloor installation creates an air gap and thermal break over the concrete, then carries carpet or luxury vinyl plank on top. Carpet is the lower-cost finished option and absorbs sound, which matters in a basement bar or media room where hard surfaces turn conversation into echo. Luxury vinyl plank handles basement humidity without cupping or buckling the way wood flooring can.
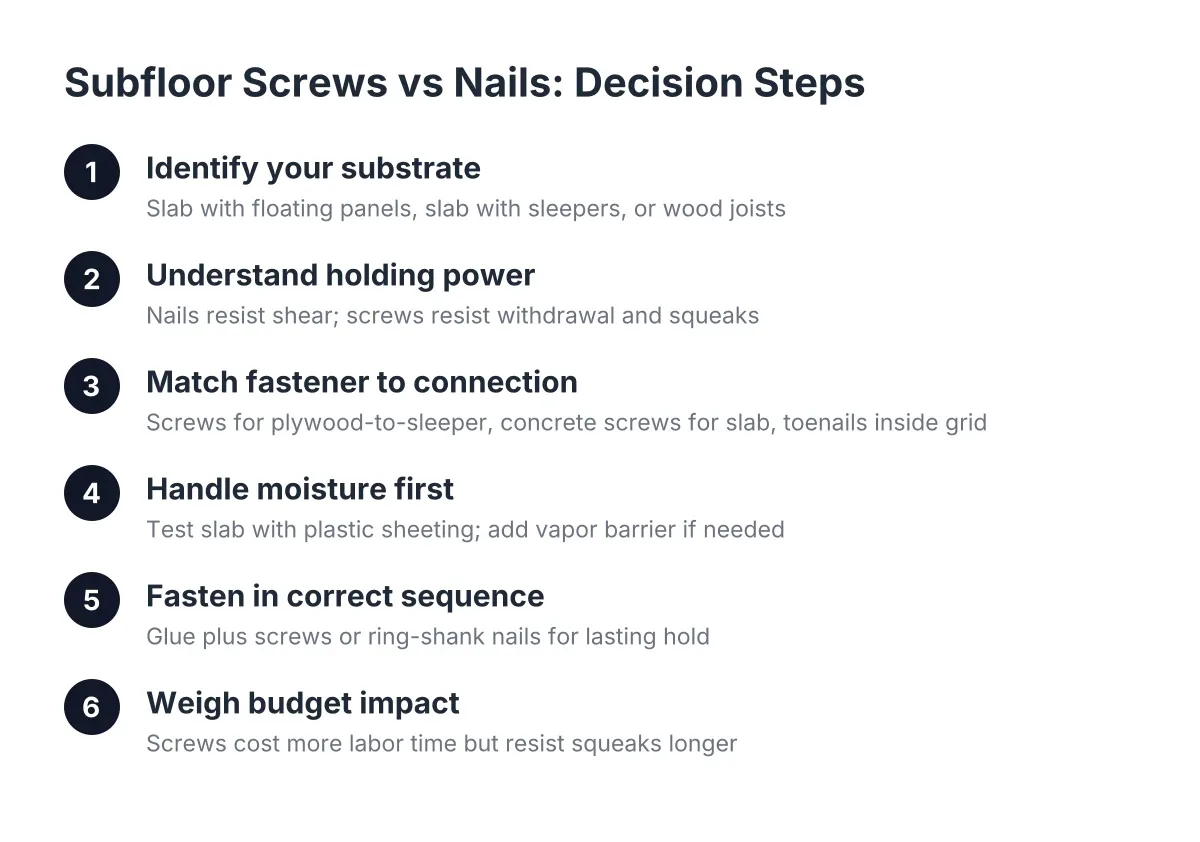
For the moisture-burned homeowner, the subfloor route has one more advantage worth naming. Even a basement with a vapor barrier under the slab benefits from a subfloor system, because it protects the finished renovation from a future moisture event instead of betting that the next heavy St. Louis rain behaves. A plywood subfloor over proper sleepers or panels, fastened with quality subfloor screws such as SPAX subfloor screws rather than nails, gives you a floor that can survive an incident that would wreck glued-down flooring or a compromised coating.
When Hiring a Contractor in St. Louis, MO Is the Right Call
Hire a contractor when the slab fails the moisture test, when the basement has a history of water after storms, or when the floor is one piece of a larger basement finishing project. A local contractor working below grade every week knows what a healthy St. Louis slab looks like and what a problem slab looks like, and will tell you which one you have before any product goes down.
Cost per square foot for professional work depends on slab condition, how much grinding and patching the concrete needs, moisture mitigation, and the system you choose. Those factors matter more than any flat number you will find online. A straight answer on your specific slab beats a generic price every time. If your project also touches framing, a load-bearing wall, a basement bathroom, or new heating, permits come into play, and that is firmly contractor territory; licensed electricians and HVAC pros are worth hiring even on an otherwise DIY finish.
The Bottom Line on Coating a Basement Floor Yourself
So, can I epoxy my basement floor myself? If the slab tests dry, the space is utility rather than living area, and you are willing to rent a grinder and respect the working time, a DIY coating is a reasonable weekend project in 2026. If the slab tests damp, if the basement has ever taken on water, or if this floor sits under a finished basement you are investing real money in, the math changes.
The risk is not wasting a kit. The risk is finishing a basement over a floor system that fails, then tearing into finished work to fix it. Test first, price the whole job including your time and the rework risk, and choose the system that survives the wettest week your basement will ever see, not the driest one.
If you need basement finishing, STL Basement Finishing can help.
Prefer to talk it through? Call (314) 916-6297 — a quick call is usually the fastest way to get a straight answer for your situation.