Concrete Floor Prep Before Epoxy: Moisture Testing, Cleaning, and Repairs
Most epoxy failures in basements start before the first drop of coating hits the slab. The problem is not the product; it is skipping concrete floor prep before epoxy goes down. A basement slab is not a garage floor or an above-grade room. It sits on soil, often with no vapor barrier underneath, and it can push moisture up through the concrete year-round. If you coat over that moisture, the epoxy blisters, peels, or traps water that eventually smells like a wet towel you forgot in the dryer.
This guide walks through how to test concrete moisture before epoxy application, covering the preparation sequence in order: test for moisture first, then clean, repair, and profile the slab. It is written for basement conditions specifically, because advice copied from garage floor prep before painting does not account for what a below-grade slab in St. Louis does in July.
One note before you start. Epoxy only makes sense when the slab is relatively dry. If your moisture test fails, the fix is not a different coating; it is a different system, and we cover that decision at the end.
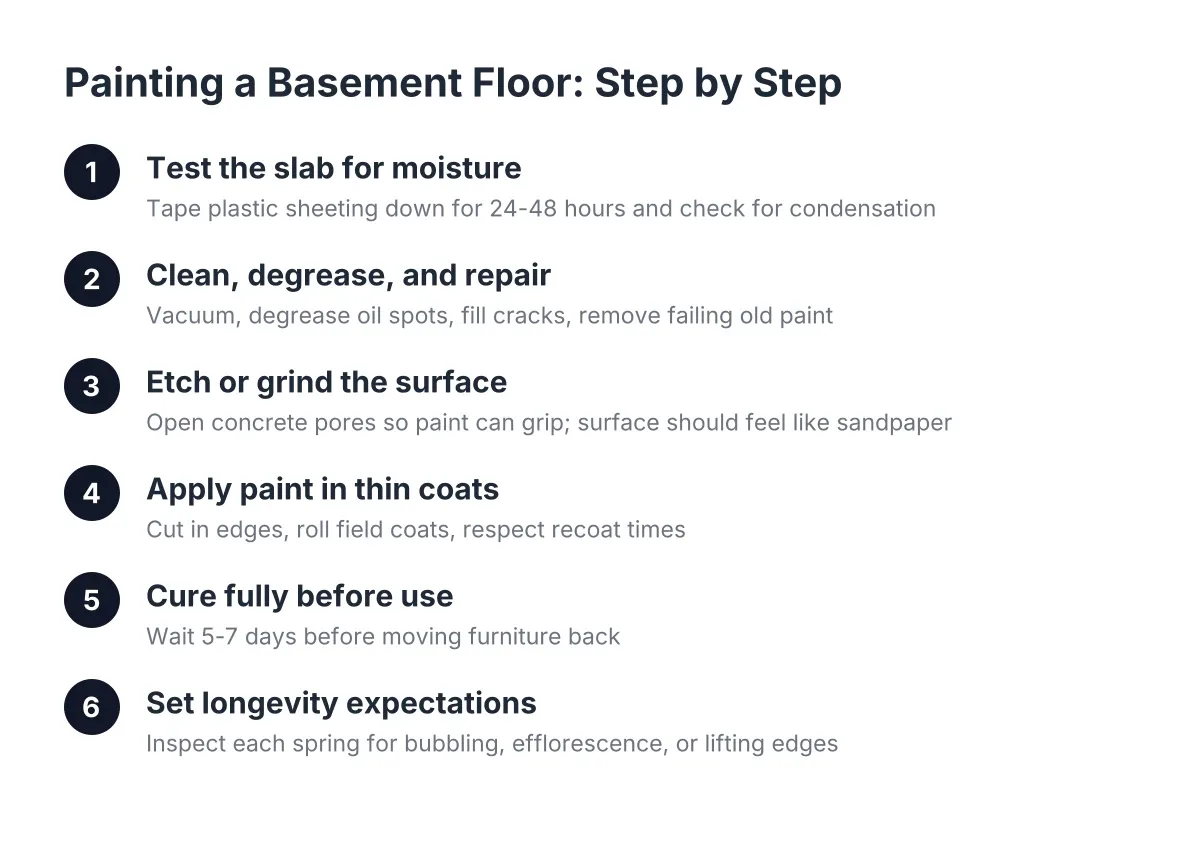
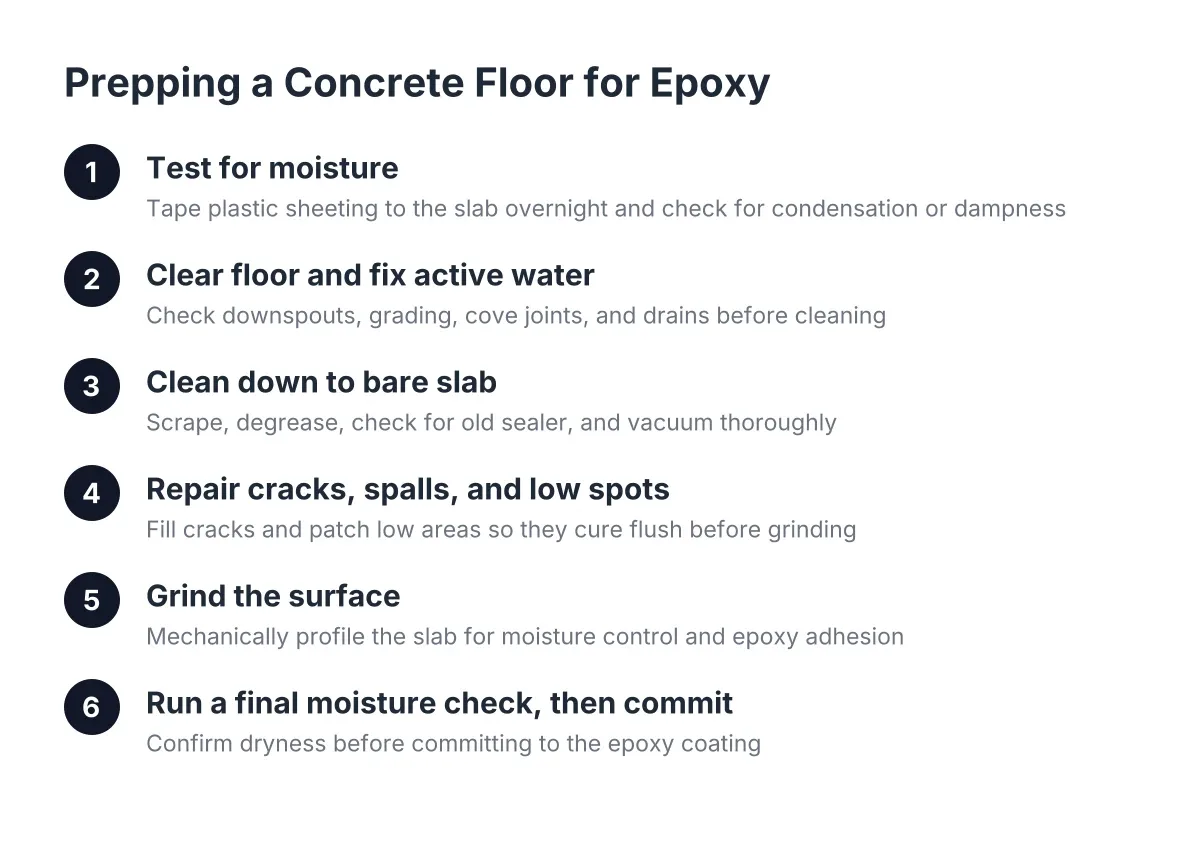
Step 1: Concrete Moisture Test for Epoxy Application
Moisture testing comes first because every other prep step is wasted if the slab fails. A properly cured epoxy coating can act as a vapor barrier and capillary break, stopping moisture and soil gas from migrating into the living space. However, that only works if the slab is dry enough for the epoxy to bond in the first place. Coat a wet slab and you get blisters and peeling, usually within the first year.
The simplest field test costs almost nothing. Tape a garbage bag or a square of plastic sheeting flat against the concrete, seal all four edges with tape, and leave it overnight, ideally 24 hours. In the morning, peel it back and look at the underside.
- Condensation or a dark, damp spot on the concrete means moisture is moving up through the slab. There is likely no vapor barrier underneath, which is common in older St. Louis homes.
- A dry bag and dry concrete means the slab is a reasonable candidate for coating.
Run this test in two or three spots, including the lowest point of the floor and anywhere you have seen efflorescence, that white chalky residue on the surface. Older homes in flood-prone areas like Cahokia or parts of Metro East often fail this concrete moisture test for epoxy when checking multiple slab locations, and that is worth knowing before you spend a weekend grinding.
Why does the vapor barrier matter so much? A vapor barrier placed over the base course under a slab is meant to block moisture transmission from the ground into the concrete above, according to W. R. Meadows. Homes built before that became standard practice, which describes a large share of the St. Louis housing stock, often have nothing but gravel and dirt under the slab.
Step 2: Clear the Floor and Fix Active Water First
Empty the space completely, then look for active water problems before you clean anything. Epoxy seals the top of the slab; it does nothing about water coming in at the walls or the cove joint where the wall meets the floor. If you have had standing water, a musty odor, or a home inspection that flagged moisture, address the source first.
Check these before moving on:
- Downspouts and grading outside. Water pooling against the foundation will find its way in no matter what you put on the floor.
- The cove joint and wall cracks. Stains or mineral trails here point to wall drainage issues, not a slab problem.
- Floor drains and any sump pit. Confirm they work before you seal the floor around them.
When wall drainage is handled and slab moisture is minimal, a fluid-applied epoxy compatible with concrete is a legitimate way to seal the slab. When it is not handled, no coating fixes it. This is the step where a lot of homeowners should bring in a contractor for an assessment, because misreading a drainage problem as a slab problem gets expensive.
Step 3: Clean the Concrete Down to Bare Slab
Epoxy bonds to concrete, not to whatever is sitting on the concrete. That means every bit of paint, old sealer, carpet adhesive, oil, and dust has to come off. This is the step most DIYers shortcut, and it is the second most common reason coatings fail after moisture.
Work through it in this order:
- Scrape off any carpet glue, mastic, or loose paint with a floor scraper.
- Degrease oil spots with a concrete degreaser and a stiff brush, then rinse and let dry. Oil that soaked in will reject epoxy.
- Test for old sealer by sprinkling water on the slab. If it beads instead of darkening the concrete, there is a sealer that has to be ground off.
- Vacuum thoroughly with a shop vac. Sweeping just moves fine dust around, and dust is a bond breaker.
For a basement, skip acid etching if you can. It puts a lot of water into a slab you just confirmed is dry, and rinsing it out of a below-grade room is a chore. Mechanical grinding, covered in Step 5, does the same job better.
Step 4: Repair Cracks, Spalls, and Low Spots
Patch the slab before you profile it, because the repairs need to cure and get ground flush with everything else. Walk the floor with a long straightedge and mark every crack, spalled patch, and low spot. High and low areas that would telegraph through flooring are just as much a problem under a coating, where they collect wear.
Hairline cracks that are not moving can be filled with an epoxy crack filler. Wider cracks should be chased out slightly with a grinder, vacuumed, and filled. For larger patches, sand mix produces a smoother finished surface than standard concrete mix, which matters when the whole floor will be coated and visible.
Take your time troweling the patch smooth and level. A well-finished patch means you will not need self-leveling compound later, whether you end up coating the floor or putting a subfloor over it. Sloppy patches cost you a second product and a second day.
Step 5: Grind the Concrete Surface for Moisture and Epoxy Adhesion
Epoxy needs a slightly rough, open-pored surface, what the trade calls a profile, roughly the texture of medium sandpaper. Diamond grinding of concrete is the standard way to achieve proper surface preparation and epoxy adhesion on a basement slab. You can rent a walk-behind concrete grinder with a vacuum attachment from most tool rental yards in the St. Louis area for a weekend.
Grinding does three jobs at once. It removes the weak top layer of cured cement paste, it takes off any remaining sealer or paint, and it flattens your patches flush with the surrounding slab. If the original slab was finished with the expectation of grinding, the pour may have skipped the final fine trowel pass; either way, grinding gets you to sound concrete.
In addition, run a dust-control plan. Grinding throws fine silica dust, so use the vacuum shroud, wear a respirator, and seal off the stairway with plastic so dust does not migrate into the rest of the house. After grinding, vacuum the whole floor twice. Then confirm your profile: water sprinkled on the slab should soak in and darken it within a minute.
Step 6: Run a Final Moisture Check, Then Commit
Repeat the plastic sheet test after grinding and cleaning, before you open the first epoxy kit. Grinding opens the pores of the slab, and any repairs you made introduced water that needs time to cure out. If the slab still reads dry and the room has been holding steady humidity, you are ready to mix and roll per the manufacturer's instructions, watching their temperature and humidity windows.
If the slab reads damp, stop. This is where basement prep diverges from garage floor prep before epoxy, and where the right answer may not be a coating at all.
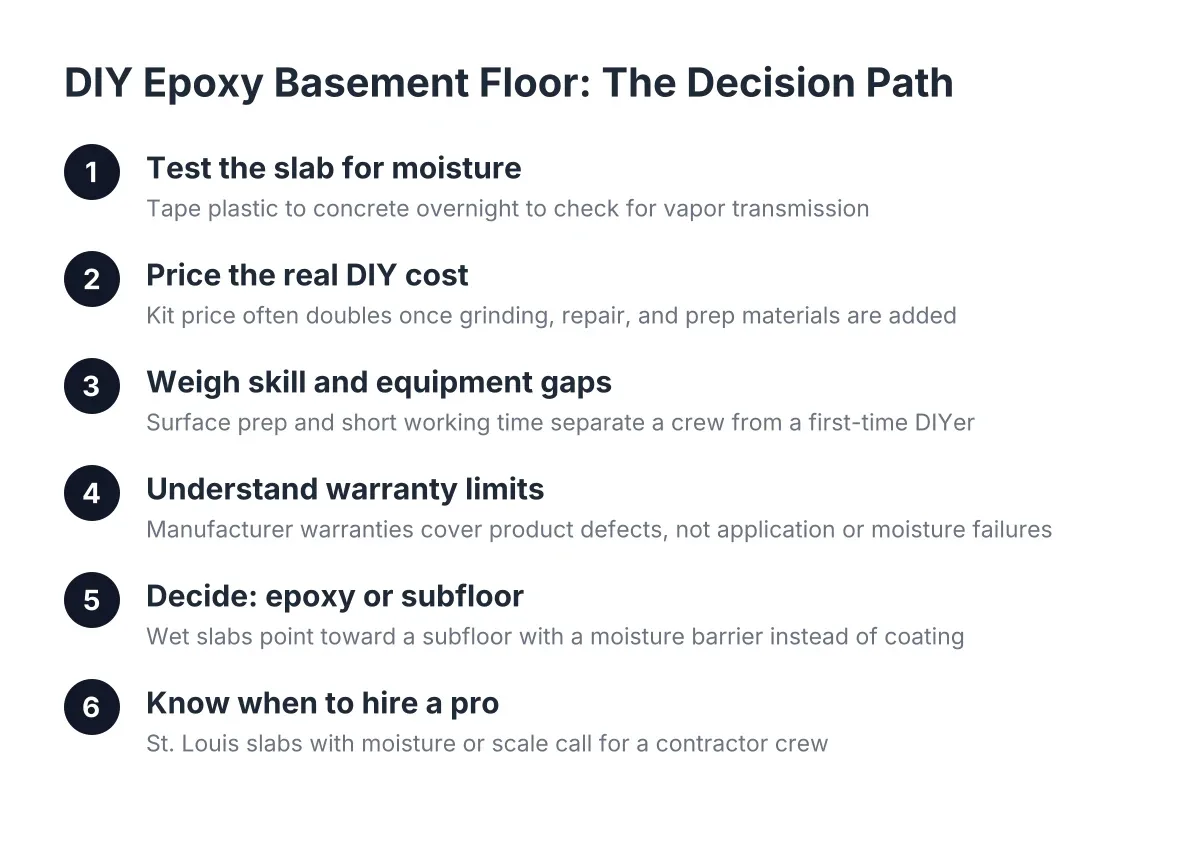
When Moisture Testing Reveals a Need for a Subfloor Instead
A failed moisture test means vapor is moving through the slab, and the fix is a system designed for that, not a coating fighting it. A basement subfloor over concrete uses a dimpled underlayment or sleeper system plus a plywood subfloor to create an air gap above the slab. Moisture that comes through the concrete can dry out underneath instead of soaking into your finished floor.
This matters most if your end goal is flooring rather than a bare coated slab. Vinyl plank should never go directly on basement concrete, because moisture migrating through the slab gets trapped underneath and causes problems. The same logic applies to carpet and laminate. Even a basement that passes the moisture test today can benefit from a subfloor system as insurance, since it protects the finished space from a future water event, which is a real consideration in a region that sees wet springs.
For the budget-minded reader, here is the honest trade-off, framed as a hypothetical. Say a homeowner in south St. Louis has an 800 square foot basement that fails the bag test. Epoxy materials looked cheap on paper, but the slab will not hold a coating. In that scenario the realistic comparison becomes basement subfloor installation versus doing nothing, and the subfloor cost is driven by square footage, how out of level the slab is, and whether old material has to come out first. Labor to replace a plywood subfloor is priced per square foot by most contractors, so getting your square footage and your moisture situation straight before you make calls puts you in control of the conversation.
What Good Prep Buys You
Concrete floor prep before any finish, whether epoxy, tile, or a plywood subfloor, is the cheapest insurance in the whole project. The sequence is always the same: test for moisture, fix active water at the source, clean to bare concrete, repair and flatten, profile the surface, and test again. Every one of those steps is boring, and every one of them is the difference between a floor that lasts and a redo in eighteen months.
If your basement has a history of water intrusion, visible efflorescence, or a slab that fails the bag test twice, bring in a local basement finishing contractor before you buy materials. Diagnosing whether you have a slab moisture issue or a wall drainage issue is the one call in this process worth making early, and in St. Louis it is a common enough situation that any basement-focused contractor will recognize it on sight.
If you need basement finishing, STL Basement Finishing can help.
Prefer to talk it through? Call (314) 916-6297 — a quick call is usually the fastest way to get a straight answer for your situation.