Subfloor Screws vs. Nails: Holding Power, Squeaks, and What Contractors Actually Use
If you are mid-project on a basement floor, the question of subfloor screws vs nails and holding power is worth getting right before you drive the first fastener. The answer changes in a basement, because you are usually fastening a plywood subfloor over a concrete slab, not nailing sheathing onto second-story joists. Moisture, concrete anchoring, and panel movement all shift the math. This guide walks through the decision step by step, written for the person who wants to check their own work, or check a contractor's quote, without sitting through a sales pitch first.
One note before the steps. If your basement subfloor sits over wood joists in a walkout or a split-level, the classic screws-versus-nails debate applies directly. If it sits over a slab, which is most St. Louis basements, the fastening questions are different and often skipped by generic flooring articles. We will cover both.
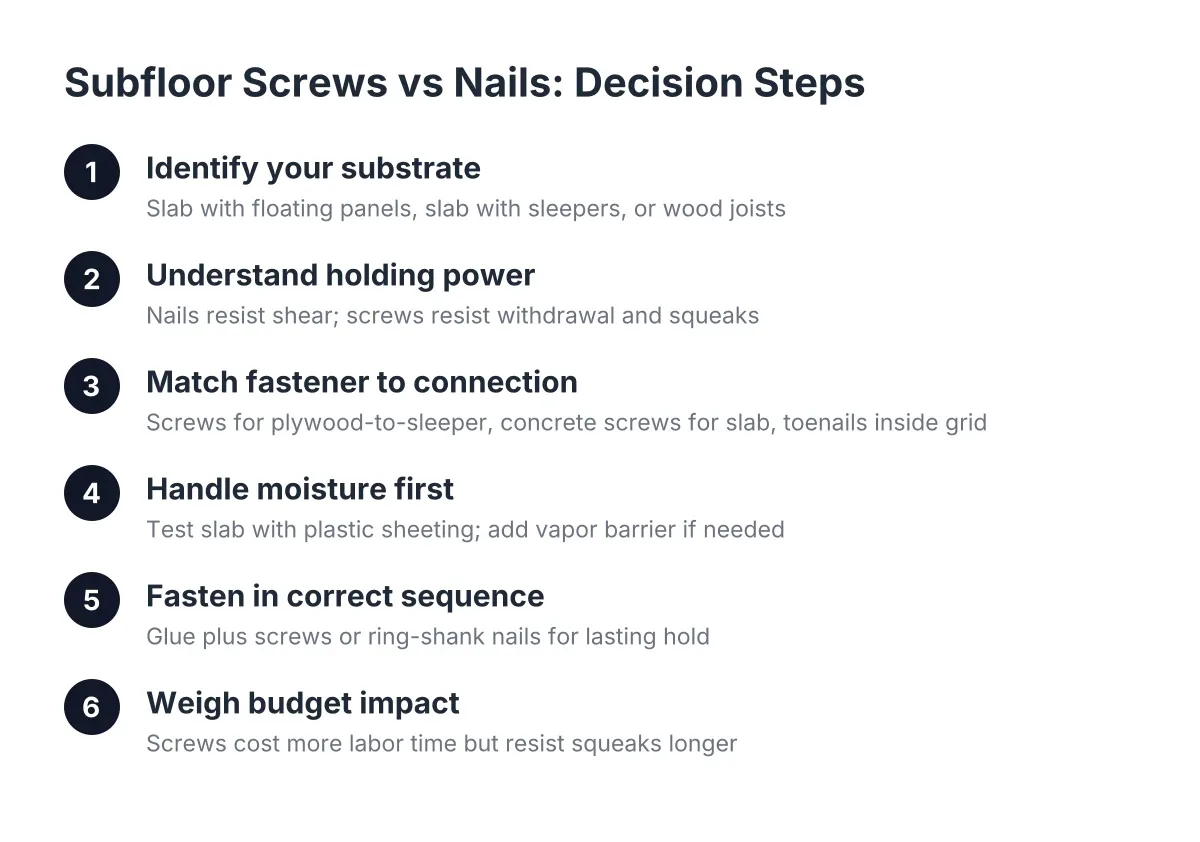
Step 1: Identify What You Are Actually Fastening To
Start by figuring out your substrate, because it decides every fastener choice that follows. In a basement you will hit one of three situations:
- Concrete slab with a floating panel system. Interlocking subfloor panels with a built-in moisture barrier that sit on the slab. These mostly do not fasten down at all.
- Concrete slab with sleepers. Pressure-treated lumber laid on the slab, with a plywood subfloor screwed to the sleepers on top.
- Wood joists. A walkout basement, a crawlspace transition, or a framed floor over a lower mechanical area. This is the only case where the standard nails-versus-screws argument transfers straight across.
Therefore, before you buy a single box of fasteners, pull up a corner or check the edge at a floor register. Guessing wrong here is how people end up driving ring-shank nails at a slab, or trying to screw a floating panel down when the manufacturer designed it to move.
Step 2: Understanding Subfloor Screws vs Nails for Holding Power
Here is the short version of the holding comparison. Nails are faster to install and resist shear, meaning side-to-side force. Screws resist withdrawal, meaning the fastener backing out of the wood. Squeaks come from withdrawal: the panel lifts a fraction of an inch off the framing, then rubs against the nail shank every time someone steps there.
That is why the common contractor standard for subfloors is glue plus screws, or glue plus ring-shank nails at minimum. Construction adhesive on the joist or sleeper does most of the long-term holding. The fasteners clamp the panel tight while the adhesive cures and keep it tight afterward.
For a basement, the moisture angle matters more than it does upstairs. Humidity swings make wood framing and plywood expand and contract through the year, and St. Louis summers are not gentle on a lower level. Smooth-shank nails lose grip as that movement cycles. Screws and ring-shank nails hold their bite. If you are choosing between the two and labor time is not the constraint, screws are the safer call in a basement.
The practical exception: framing crews with collated nail guns can fasten a floor in a fraction of the time, which is why nails have not disappeared. On a paid job, that labor difference is real money. If a contractor quotes you glued and ring-shank nailed subfloor, that is a legitimate standard, not a corner cut. Glued and smooth-shank nailed is where you should ask questions.
Step 3: Pick the Right Fastener for Each Connection
A basement subfloor installation usually involves two or three different fastening jobs, and they take different hardware. Do not use one box of screws for everything.
Plywood to sleepers or joists
Use subfloor-rated screws, typically 1 5/8 inch to 2 inch depending on panel thickness, long enough to bite about an inch into the framing without poking through a sleeper into the slab. Space them about every 6 inches along panel edges and every 8 to 12 inches in the field, following the panel manufacturer's schedule. Run a bead of construction adhesive on each sleeper or joist before setting the panel.
Sleepers or bottom plates to the concrete slab
Wood screws will not hold in concrete. The standard method is pre-drilling with a carbide-tip masonry bit in a hammer drill, then driving concrete screws (Tapcon-style) through the treated lumber into the slab. A powder-actuated tool is the faster alternative; it fires a hardened nail through the plate into the concrete with a powder charge. Crews use it because it skips the drilling step entirely. For a DIYer doing one room, the drill-and-screw method is slower but more forgiving.
Connections inside a sleeper grid
However, not every joint needs maximum holding power. In a sleeper system, the short joists are commonly just toenailed to the band board. Once the assembly is trapped between the slab below and the glued, screwed plywood above, it cannot go anywhere. Spending money on structural screws there buys nothing.
Step 4: Handle Moisture Before You Fasten Anything
No fastener choice saves a basement subfloor from water. Concrete slabs transmit ground moisture upward unless something blocks it. A vapor barrier placed over the base course under a slab is meant to block moisture transmission from the ground into the concrete above, according to W. R. Meadows, but many older St. Louis slabs were poured without one, or with one that has long since failed.
So before fastening, do a simple check: tape a 2-foot square of plastic sheeting to the slab, seal all four edges, and leave it for 24 to 48 hours. Condensation or a dark spot under the plastic means the slab is moving moisture, and you need a barrier layer, either a dimpled membrane, a rated poly sheet per the subfloor manufacturer, or a floating panel system with the barrier built in.
Two fastening rules follow from moisture:
- Any lumber touching concrete must be pressure-treated, and concrete screws or powder-actuated pins are the only fasteners that belong in that connection.
- Do not puncture the moisture barrier more than the system is designed for. Floating panel systems avoid slab penetrations entirely for this reason, and if you frame basement walls on top of a floating subfloor, follow the panel manufacturer's recommendations so moisture under the floor and behind the walls can still dry.
This is also where cheap quotes go wrong. A low bid that skips the moisture barrier saves a few hundred dollars on day one and sets up subfloor rot, cupped flooring, and a musty basement within a few years. Signs of subfloor rot, soft spots, dark staining, and a sour smell near the slab, almost always trace back to this step being skipped.
Step 5: Fasten in the Right Sequence
Order matters more than people expect. First, snap chalk lines marking the center of every sleeper or joist on top of the panels as you set them, so every screw lands in framing. Marking fastener locations before you set a panel is the simplest way to avoid missed rows, which are a main source of squeaks later. Next, glue and set one panel at a time, and screw it off before the adhesive skins over.
Work from one corner, stagger panel end joints like brickwork, and leave the expansion gap the panel maker specifies at walls, usually about 1/4 inch. In a basement, humidity swings make that gap earn its keep; panels installed tight to the foundation wall in January can buckle by July.
Finally, check the finished surface with a long straight edge before any flooring goes down. Correct low and high spots with patch and leveling compound. A screw head sitting proud will telegraph through vinyl, and a low spot will flex and squeak no matter how good your fastening was.
Step 6: Budget Impact of Subfloor Screws vs Nails
For the budget-focused reader, here is the honest bottom line on fastener holding: the choice between screws and nails for subfloor is a small line item either way. A basement room takes a few boxes of fasteners; the cost difference between screws and nails might be the price of a pizza. Where the money actually moves is labor method, moisture prep, and what sits on top.
Suppose a landlord is finishing the lower level of a rental in south St. Louis to add a bedroom and a basement bathroom before a refinance appraisal. In that scenario, the fastener choice changes the quote by a rounding error. The slab moisture test, the barrier system, whether walls land on the slab or the subfloor, and the bathroom subfloor replacement cost around a new shower drain are the items that swing the number by thousands. Those are the lines to compare across bids, not the brand of screw.
What should raise a flag in any 2026 quote:
- No mention of a moisture barrier or slab testing over concrete
- Smooth-shank nails with no adhesive on a joisted floor
- Untreated lumber specified against the slab
- No expansion gap or leveling step before flooring
One honest limitation: if your slab shows active water, cracking with movement, or you are unsure whether a wall you plan to build or remove is load-bearing, stop and bring in a contractor or structural professional. Fastener schedules do not fix drainage problems or carry structural loads, and in St. Louis MO a finished basement with a bathroom will involve a permit and inspections regardless of who drives the screws.
The Short Answer, If You Skipped to the End
For subfloor over wood framing, glue plus screws is the gold standard for holding power and squeak prevention; glue plus ring-shank nails is an acceptable, faster contractor method. Over a concrete slab, the real decisions are the moisture barrier, treated lumber, and concrete anchors, and the debate between screws and nails barely applies. Get the slab prep right, land every fastener in framing, and the floor above it, carpet, vinyl, or hardwood, will stay quiet for decades.
If you need basement finishing, STL Basement Finishing can help.
Prefer to talk it through? Call (314) 916-6297 — a quick call is usually the fastest way to get a straight answer for your situation.