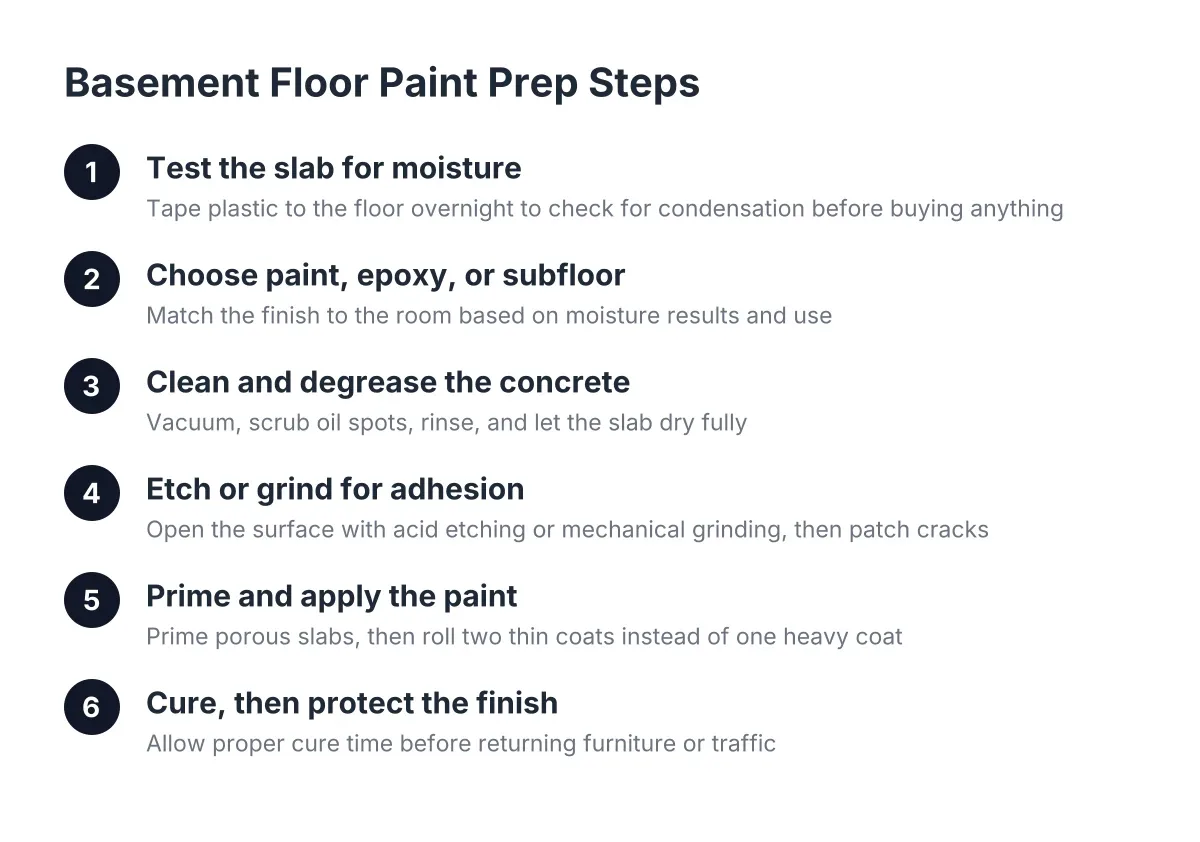
Concrete Basement Floor Paint Prep: Moisture Testing and Application Steps
Concrete basement floor paint fails for one reason more than any other: moisture pushing up through the slab from below. In St. Louis, where clay soil holds water against foundations and older slabs often went in without a vapor barrier, proper basement floor paint prep matters more than the paint you pick. This guide walks through the full process, from testing your slab for moisture to rolling the final coat, so the finish you apply this weekend still looks right in five years.
Can I paint a concrete basement floor? Yes, and for a utility room, workshop, or laundry area it is often the right call. Paint contains dust so it does not migrate into the finished living space every time someone opens the door. However, whether paint is the right finish for your slab depends entirely on what a moisture test tells you first. Start there.
Step 1: Test the Slab for Moisture Before Buying Anything
Do not buy a gallon of anything until you know how much water vapor is moving through your slab. A vapor barrier placed over the base course under a concrete slab is meant to block moisture transmission from the ground into the concrete above, according to W. R. Meadows. Many older St. Louis basements never got one.
The simplest field test costs nothing. Tape a plastic garbage bag flat to the concrete floor, sealing all four edges with duct tape, and leave it overnight. Pull it up the next morning:
- Condensation or a dark, damp patch under the plastic: water vapor is coming up through the slab. There is likely no vapor barrier underneath, and standard paint will blister and peel.
- Dry concrete under the plastic: vapor drive is minimal, and a coating is a reasonable option.
Run this test in two or three spots, including the corner nearest your sump pit or the lowest point of the floor. Slabs are not uniform; one dry reading near the stairs does not clear the whole room.
If the test comes back damp, stop here. A damp slab under a finished basement calls for a raised subfloor system, not paint. Dimpled subfloor panels lift the finished floor slightly off the concrete so water vapor can migrate to drier zones and escape rather than accumulate under your flooring. That is a different project, and it is worth doing right before any flooring goes down.
Step 2: Decide Between Paint, Epoxy, and a Full Subfloor
Once you know your slab is dry, match the finish to the room. Concrete basement floor paint, usually a latex or acrylic porch-and-floor product, is the budget option. It goes on with a roller, dries fast, and recoats easily. It also wears faster under foot traffic and can lift under hot car tires or dragged furniture.
Basement concrete floor paint epoxy products sit a step up. A two-part epoxy cures into a harder, more abrasion-resistant film that handles a home gym or workshop better than paint. When wall drainage is handled and moisture at the slab is minimal, a fluid-applied epoxy coating made for concrete is a sound way to seal the slab. The trade-off is a shorter working time during application and a stronger odor while it cures.
For example, say a homeowner in Kirkwood is finishing most of the basement into a bar and media room but leaving a 10 by 12 utility room bare. In that scenario, painting the utility room floor makes sense: it keeps concrete dust contained, costs little, and nobody will drag a couch across it. The finished side of the basement, where guests will stand around the bar, deserves a subfloor and real flooring instead.
One more caution. Even a basement with a vapor barrier under the slab can still benefit from a subfloor under finished living space, because a subfloor protects the renovation from future moisture events like a failed sump pump or a burst supply line. Paint offers no such protection. Reserve it for spaces where a wet floor is an inconvenience, not a disaster.
Step 3: Clean and Degrease the Concrete for Basement Floor Paint Prep
Paint bonds to concrete, not to whatever is sitting on the concrete. Sweep and vacuum the whole floor, then scrub it with a concrete degreaser and a stiff brush. Pay attention to oil spots near the furnace and water heater, and any old adhesive residue from previous flooring.
Next, rinse thoroughly and let the slab dry. In a St. Louis summer, run a dehumidifier for a day or two after rinsing; humid basement air slows drying and a damp slab will reject the coating. The floor should look uniformly dry with no dark patches before you move on.
Step 4: Etch or Grind for Adhesion
Smooth, hard-troweled concrete is too slick for paint to grip. You have two options. Acid etching with a diluted etching solution opens the surface pores; follow the product directions exactly, neutralize, rinse, and dry. Mechanical grinding with a rented floor grinder does the same job without chemicals and handles old sealers better.
A quick check: sprinkle water on the etched or ground surface. If it soaks in within a minute, the surface is open enough. If it beads, there is still sealer or laitance to remove.
Patch cracks and spalled spots with a concrete patching compound rated for floors, then let the patches cure fully. Hairline cracks can be filled; wide, offset, or actively growing cracks point to slab movement, and that is a conversation to have with a contractor before covering anything up.
Step 5: Prime, Then Apply the Concrete Basement Floor Paint
Use a concrete primer or the manufacturer's recommended first coat; on porous slabs, the primer coat soaks in and gives the finish coats something consistent to bond to. Cut in the edges with a brush, then roll the field with a 3/8-inch nap roller on an extension pole. Work toward the stairs so you do not paint yourself into a corner.
Apply two thin coats rather than one heavy one. Thick coats trap solvent and cure soft. Respect the recoat window on the can; most latex floor paints want a few hours between coats and several days before furniture goes back. As of 2026, most consumer floor coatings sold at big-box stores are low-VOC latex formulas, but ventilate the basement anyway while you work.
For color, lighter grays and greige tones hide dust and brighten a low-ceiling space. Some homeowners painting a basement gym pair a light gray floor with a black-painted ceiling, which reads industrial and makes the ceiling feel higher around exercise equipment.
Step 6: Cure, Then Protect the Finish
Let the final coat cure for the full period on the label before heavy use, often up to a week for full hardness. Put felt pads or rubber cups under anything heavy. Avoid rubber-backed mats for the first month; some can discolor fresh coatings.
Watch the floor through the first wet season. Blisters in the cured coating usually mean trapped moisture or air pushing up from below; blisters in concrete itself trace back to trapped air, commonly from finishing the surface too soon or from a vapor barrier keeping water from absorbing into the subgrade, according to NRMCA. A few isolated blisters can be scraped, spot-primed, and touched up. Widespread blistering means the slab is wetter than your test suggested, and the long-term answer is a subfloor, not another coat. Proper basement floor paint prep during the early stages prevents many of these problems before application.
When Paint Is the Wrong Answer for a Finished Basement
Paint suits utility spaces. It does not suit the basement bar you have been saving photos of. For finished living space, the better path among basement flooring options is a plywood subfloor or dimpled subfloor panel with luxury vinyl plank, carpet tiles with padding, or tile on top. Those assemblies handle St. Louis humidity, feel warmer underfoot, and survive a spill from the bar sink.
The comfort gap is real too. Painted concrete is hard and cold in January. Carpet over a proper subfloor, or LVP with an underlayment, changes how the room feels the moment you walk down the stairs, and moisture-resistant carpet options hold up well over a dry, decoupled subfloor.
Cost is where paint earns its place. How much to paint a concrete basement floor depends on square footage, how much grinding or etching the slab needs, and whether you choose latex paint or two-part epoxy; materials for a small utility room typically run a fraction of what any finished flooring assembly costs. Just be honest about which spaces get paint and which get real flooring.
Finally, know your limits. If your basement shows efflorescence, standing water after storms, or a musty smell that never leaves, resolve the water problem first. No coating fixes water intrusion, and a local basement finishing contractor can assess the slab, the drainage, and the framing plan together before you spend a weekend on prep that the moisture will undo.
If you need basement finishing, STL Basement Finishing can help.
Prefer to talk it through? Call (314) 916-6297 — a quick call is usually the fastest way to get a straight answer for your situation.