Basement Bathroom Addition Plumbing: A Step-by-Step Guide for St. Louis Homes
If you just bought a house in St. Louis with an unfinished basement, adding a bathroom down there is one of the smartest moves you can make before the furniture arrives. It is also the part of the job where corners get cut most often. Basement bathroom rough-in plumbing is not complicated in concept, but it involves breaking concrete, working below the sewer line, and making moisture decisions that decide whether the room holds up or turns musty in two years. This guide walks through the process step by step, in the order a basement-focused contractor actually does the work, so you know what should happen and when.
One note up front, especially if you have been burned before: a contractor who starts framing a shower before talking about drainage, venting, and moisture is skipping the steps that protect your investment. Every step below exists for a reason, and the order matters.
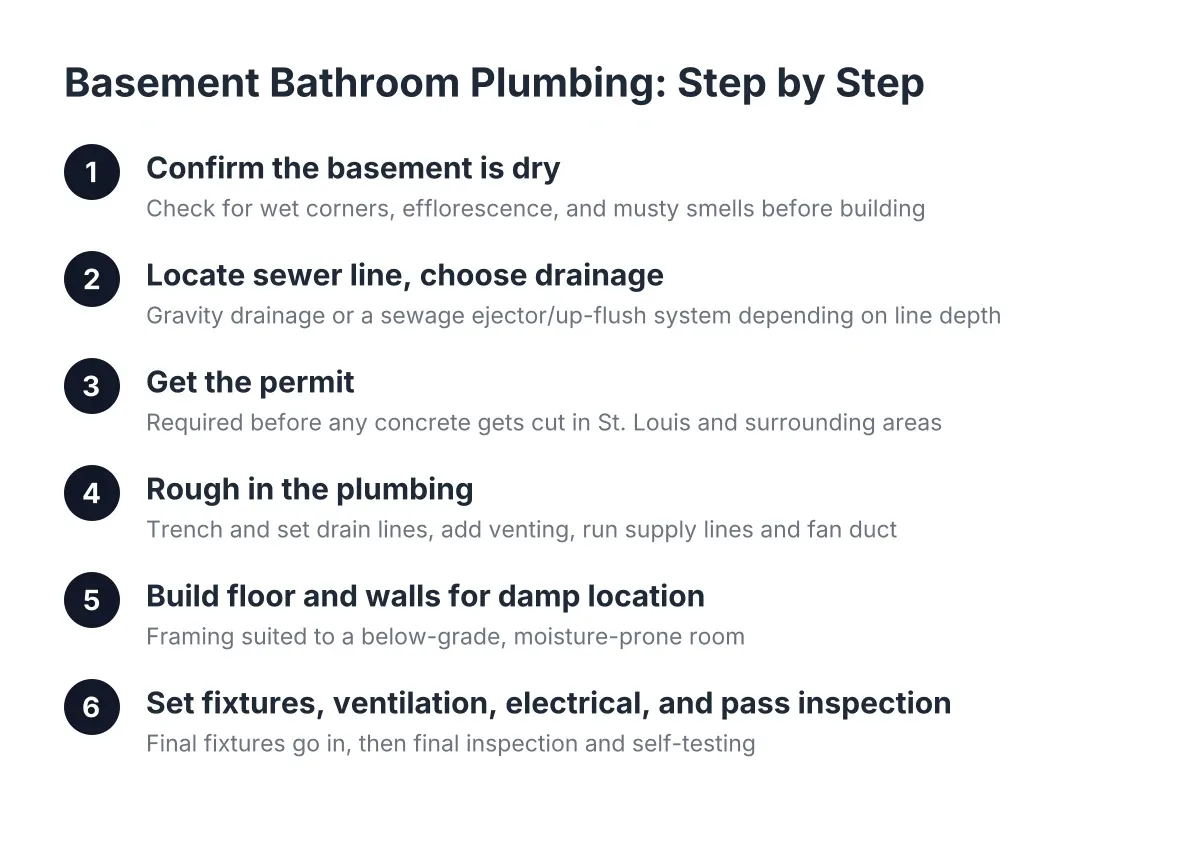
Step 1: Confirm the Basement Is Dry Enough to Build In
Before anyone talks fixtures, deal with water. A basement bathroom puts drywall, a vanity, and finished flooring in the lowest, dampest room of the house. If water has ever come in after a heavy rain, that gets solved first, not covered over.
Walk the basement after the next hard storm and look for wet corners, efflorescence (white mineral staining) on the walls, and a musty smell. Check where the downspouts discharge outside and whether the grade slopes away from the foundation. If you found moisture notes on your home inspection report, pull that report back out now.
However, do not accept "it looks dry today" as an answer. St. Louis clay soil holds water, and a basement that stayed dry through a mild spring can take on water in a wet one. A contractor worth hiring will ask about your water history before quoting anything, and will price drainage or grading corrections as a separate line item so you can see exactly what the moisture work costs versus the bathroom itself.
Step 2: Locate the Sewer Line and Choose Gravity or a Pump
Can you put a full bathroom in a basement? Yes, in almost every case. A full basement bathroom with a toilet, sink, and shower is possible whether or not your sewer line sits below the slab. The depth of that line simply decides which drainage method you use, and that decision shapes the entire plumbing plan.
There are two paths:
- Gravity drainage. If the main sewer line exits the house below the basement slab, new drain lines can tie in directly. This means cutting and trenching the concrete slab to run pipe, then patching it. It is the more durable, lower-maintenance option when the depth allows it.
- An up-flush or sewage ejector system. If the sewer line sits above the slab, waste has to be pumped up to reach it. A sewage ejector pit gets set into the slab, or a macerating up-flush toilet handles it above the floor. These systems work well, but the pump is a mechanical part that will eventually need service, so plan access to it.
A camera scope of the existing line is worth doing at this stage, especially in older St. Louis housing stock where clay sewer laterals are common. Finding a root-choked or bellied lateral before you finish the basement is a lot cheaper than finding it after.
Step 3: Get the Permit Before Any Concrete Gets Cut
Do I need a permit for a basement bathroom? Yes. Adding plumbing fixtures, running new drain and supply lines, and adding circuits all require permits in St. Louis and the surrounding municipalities, and the plumbing work is inspected before it gets buried or closed in. A contractor who suggests skipping the permit is telling you how they handle the rest of the job.
Permits protect you specifically. The rough plumbing inspection happens while the trenches are still open, so an inspector verifies pipe slope, venting, and connections before concrete covers them. Expect at least two inspection visits on the plumbing alone, rough and final, plus separate electrical rough-in and insulation inspections if the bathroom is part of a larger basement finishing process. Permit costs and review times vary by municipality, so have your contractor confirm the requirements for your specific address rather than assuming the county rules apply in the city or vice versa.
Step 4: Rough In the Basement Bathroom Plumbing
This is the loud, dusty stage, and the one where good work is invisible later. The crew saw-cuts the slab along the planned drain routes, trenches to the tie-in point, and sets the drain lines with consistent slope so waste flows by gravity rather than sitting in the pipe.
Venting matters as much as drainage in basement bathroom rough-in plumbing, and it is the piece DIY guides most often shortchange. Every fixture needs a vent path so draining water does not siphon the traps dry and let sewer gas into the room. In a basement, tying vents up to the existing stack usually means opening a wall chase on the first floor, so plan for a small amount of upstairs patching. Air admittance valves can sometimes substitute where a full vent run is impractical, but local code determines where they are allowed, so confirm before relying on one.
Supply lines are the easy part. Hot and cold water usually run overhead from the existing lines, dropping down inside the new framed walls. While the walls are open, this is also the right time to rough in the exhaust fan duct, which must vent outside, not into a joist bay.
What Should Be in Place Before the Basement Bathroom Rough-In Gets Completed
Before concrete goes back over the trenches, confirm this checklist with your contractor:
- Drain lines pressure-tested or water-tested and passed by the inspector.
- Correct slope verified on every horizontal drain run.
- A cleanout installed where code requires access.
- Vent connections complete or stubbed for the wall stage.
- The ejector pit set and sealed, if the project uses a pump.
If any of that gets buried without an inspection sign-off, stop the job and get it corrected. This is exactly the "cover it up and move on" behavior that creates problems no one can see until they smell them.
Step 5: Build the Floor and Walls for a Damp Location
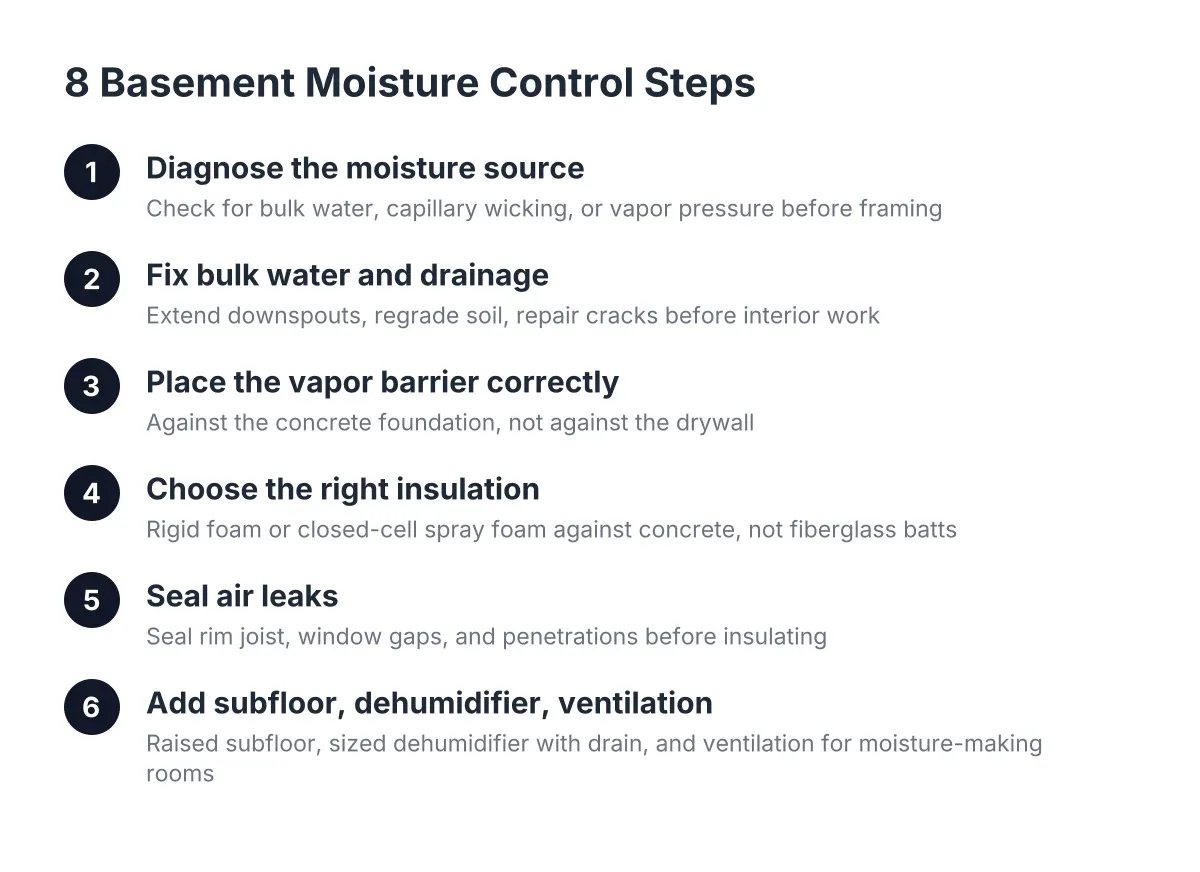
Next comes the part that separates a basement bathroom that lasts from one that grows mold behind the tile. Concrete slabs transmit ground moisture as vapor even when they look bone dry. A vapor barrier under the slab is meant to block that moisture transmission from the ground into the concrete, according to W. R. Meadows, but many older St. Louis homes were poured without one.
Therefore, treat the slab as damp regardless of how it looks. Outside the wet area, a subfloor system with a moisture gap or a plywood subfloor over a proper barrier keeps finished flooring off the concrete and gives minor moisture somewhere to go. Even a basement that has an under-slab vapor barrier still benefits from a subfloor system, because it protects the finished room from a future water event, a failed water heater, or a backed-up drain.
The wall assembly follows the same logic. Insulation against the foundation should resist air and vapor movement to control condensation, and the assembly should still be able to dry if it ever gets wet. Avoid stapling plastic sheeting to the room side of the studs; an interior vapor barrier traps moisture in the wall cavity where it cannot dry back into the room. In the shower area itself, use cement board or a foam tile backer with a waterproofing membrane, never standard drywall behind tile.
Step 6: Set Fixtures, Ventilation, and Electrical
With rough-ins inspected and walls closed, the finish stage moves fast. The toilet, vanity, and shower get set and connected. GFCI-protected outlets and a dedicated exhaust fan circuit go in, and any exposed wiring runs should be in conduit rather than loose cable; running non-metallic sheathed cable inside EMT is against code in damp or wet locations, per the National Electrical Code.
Ventilation deserves as much attention as the plumbing in a below-grade bathroom. Size the exhaust fan for the room, duct it to the exterior with as short and straight a run as possible, and consider a humidity-sensing switch so the fan runs after showers whether anyone remembers to flip it or not. In a basement, that fan is doing double duty: clearing shower steam and helping control the baseline humidity that makes basements smell musty after rain.
Step 7: Pass Final Inspection and Test Everything Yourself
The final plumbing and electrical inspections close out the permit. Do not skip your own walkthrough on top of that. Run every fixture for several minutes, flush the toilet repeatedly while the shower runs, and check every accessible joint for weeping. If the project uses an ejector pump, fill the pit and listen for the pump to cycle and shut off cleanly.
Then wait for the next hard rain and check the room again. A dry bathroom in dry weather proves nothing to someone who has mopped up a basement before; a dry bathroom after two inches of rain is the real sign-off.
What Basement Bathroom Plumbing Costs Depend On
How much does it cost to add a bathroom in the basement? There is no honest single number, because the price is driven by a handful of site-specific factors rather than the fixtures. As an illustrative example, suppose a homeowner in South County closes on a 1960s ranch with a rough-in already stubbed under the slab; that project skips most of the concrete work and lands at the low end. A home with a shallow sewer line needing an ejector pit, a long trench, and new venting lands much higher for the same finished room.
The main cost drivers to ask about:
- Distance from the new bathroom to the sewer tie-in, which sets the trenching and concrete work.
- Gravity drainage versus an ejector or up-flush system.
- Whether a plumbing rough-in already exists under the slab.
- Moisture or drainage corrections needed before finishing can start.
- Fixture and tile selections, which swing the finish budget more than the plumbing does.
Ask any contractor to break the basement bathroom rough-in plumbing out as its own line item in the bid. If the moisture work, the plumbing, and the finishes are lumped into one number, you cannot see what you are paying for or what got skipped.
Where a Professional Is Not Optional
Framing and painting a basement are forgiving work for a capable homeowner. The plumbing and electrical are not. Drain slope, venting, and slab tie-ins have to pass inspection, and mistakes get entombed in concrete. In addition, if your basement has a history of standing water or you suspect a foundation drainage problem, bring in a professional to diagnose it before any finishing begins; no bathroom design fixes water coming through the wall behind it.
Done in this order, a basement bathroom is one of the highest-value additions you can make to a St. Louis home, and one you can trust after the next storm instead of dreading it.
If you need basement finishing, STL Basement Finishing can help.
Prefer to talk it through? Call (314) 916-6297 — a quick call is usually the fastest way to get a straight answer for your situation.