Load-Bearing Wall Removal vs. Reinforcement in Basement Finishing: A Step-by-Step Guide
Most St. Louis basements hide at least one wall or post that carries the weight of the house above it. When you finish the space, you face a choice: work around that structure, or change it. This guide walks through the decision between wall removal vs. reinforcement step by step, so you know what a specialist checks, when a structural engineer gets involved, and where the permit process fits. If you are the type of homeowner who wants everything done the legal way, with no surprises at resale, this is written for you.
Removal opens up the floor plan. Reinforcement keeps the structure where it is but strengthens it so the finished space stays safe and code-compliant. Neither is automatically better. The right answer depends on your layout goals, your budget, and what the framing above your basement is actually doing.
Step 1: Identify Which Basement Walls and Posts Are Load-Bearing
Before you sketch a single wall of your future playroom or basement bathroom, figure out what is holding the house up. In a typical St. Louis home, the floor joists above the basement rest on the foundation walls at the perimeter and on a beam or bearing wall somewhere near the middle of the span.
Look for these signs that a wall or post is structural:
- The wall runs perpendicular to the floor joists above it.
- A steel or wood beam sits directly on top of the wall or post.
- Joists overlap or splice directly above the wall.
- Steel columns (lally columns) line up under a beam down the center of the basement.
- The wall sits directly above a footing, often visible as a thicker section of slab.
However, visual checks only get you so far. Some walls that look like simple partitions were pressed into service as bearing walls decades ago. A contractor who does load-bearing wall assessment as part of basement finishing will trace the load path from the roof down before recommending anything.
Step 2: Wall Removal vs. Reinforcement—Deciding Between Structural Options
This is the fork in the road for your whole basement remodeling plan. Removal means transferring the load to a new beam and posts, which changes your framing, your permit scope, and your basement remodel cost. Reinforcement means keeping the structure in place and strengthening it, then designing your finished layout around it.
When removal makes sense
Removal fits when the wall sits exactly where you want open space. Say a homeowner in South County wants one large family room for a growing household, and a bearing wall cuts the basement into two narrow halves. In that scenario, removing the wall and installing an engineered beam creates a single usable room instead of two awkward ones.
Removal costs more. You pay for an engineer's design, a beam sized for the span, new posts with proper footings, temporary shoring during the work, and the structural permit and inspections that go with it. For a family working within a practical budget, that money competes with the basement bathroom or the plywood subfloor you also want.
When reinforcement is the better call
Reinforcement wins when the structure can stay where it is without wrecking your layout. Often a bearing wall becomes the natural divider between a guest bedroom and a home office, or a steel column disappears inside a framed wall or a wrapped post beside the basement bar. You keep the load path intact, the engineering is simpler, and more of your budget goes toward finishes your family actually uses.
Reinforcement also covers situations where existing structure is undersized. An old wood post on a cracked slab, a sagging beam, or a bearing wall with notched studs may need new footings, sistered members, or a steel column swap even if you never planned to move anything. Catching that during design beats discovering it after drywall.
Step 3: Get a Structural Engineer Involved Before Anyone Swings a Hammer
For any loadbearing wall removal or reinforcement, a licensed structural engineer should size the beam, specify the posts, and detail the footings. This is not optional paperwork. In St. Louis City and St. Louis County, structural changes generally require stamped drawings or engineering documentation as part of the permit application.
For the permit-anxious homeowner, this step is your protection. An engineer's letter or drawing set gives the plan reviewer something concrete to approve, gives the inspector something to check against, and gives a future buyer's inspector a paper trail. Unpermitted structural work is exactly the kind of thing that surfaces during a home sale and stalls the closing.
A basement-focused contractor should coordinate the engineer as part of the job, not hand you a phone number and wish you luck. If a contractor tells you a load-bearing wall can come out without engineering because "we do this all the time," treat that as a warning sign, not a convenience.
Step 4: Pull the Right Permit for Structural Work
Do I need a permit to remove or reinforce a load-bearing wall in my basement? Yes. In both St. Louis City and St. Louis County, structural modifications require a building permit, and that structural scope usually rides along with the broader basement finishing permit. Adding a basement bathroom triggers plumbing permits too, and new circuits for the space trigger electrical permits.
The permit is not the enemy of your schedule. What actually causes delays is submitting incomplete plans, skipping the engineering, or starting work before approval and drawing a stop-work order. A complete application with stamped structural details tends to move through review without drama. Rules and fees differ between the city and the county, and they change over time, so as of 2026 the practical move is to have your contractor confirm the current requirements for your specific address before finalizing the plan.
Permit costs and review timelines vary by jurisdiction and project scope, so no honest contractor quotes them as fixed numbers. What you can insist on is that the contractor pulls the permit under their name, schedules the inspections, and shows you the approved documents.
Step 5: Shore the Structure Temporarily
Whether the wall is coming out or being rebuilt stronger, the load above it must be supported the whole time. A typical crew builds temporary stud walls or sets adjustable steel posts on both sides of the work area, snug against the joists, before touching the existing structure. The temporary supports carry the house while the old wall comes down or while posts and footings are replaced underneath it.
This is the stage where do-it-yourself attempts go wrong most often. Undersized temporary walls, supports resting on an unreinforced slab, or shoring only one side of spliced joists can crack drywall upstairs or worse. If any part of this project tempts you toward DIY, this step is where you should stop and hire a professional instead.
Step 6: Install the Beam, Posts, and Footings
Now the engineered design becomes real. For a removal, the crew installs the new beam, either flush within the joist bay for a clean ceiling or dropped below the joists where headroom allows. Steel or engineered lumber posts carry the beam ends, and each post needs a footing sized for the load. In a basement, that often means cutting the slab, digging, and pouring new concrete pads.
For loadbearing wall reinforcement, the work looks different but follows the same logic: sister weak members, replace rusted or rotted posts with steel columns, add footings under points that were bearing on bare slab, and tie everything into a continuous load path. The framing inspection happens before anything gets covered, so keep the area open until the inspector signs off.
One trade-off worth knowing before you commit: a dropped beam can cost you several inches of headroom right where you wanted the pool table or the basement bar. A flush beam preserves ceiling height but costs more in labor and hardware. Your contractor should show you both options with the height consequences marked on the plan.
Step 7: Frame the Finished Space Around the New Structure
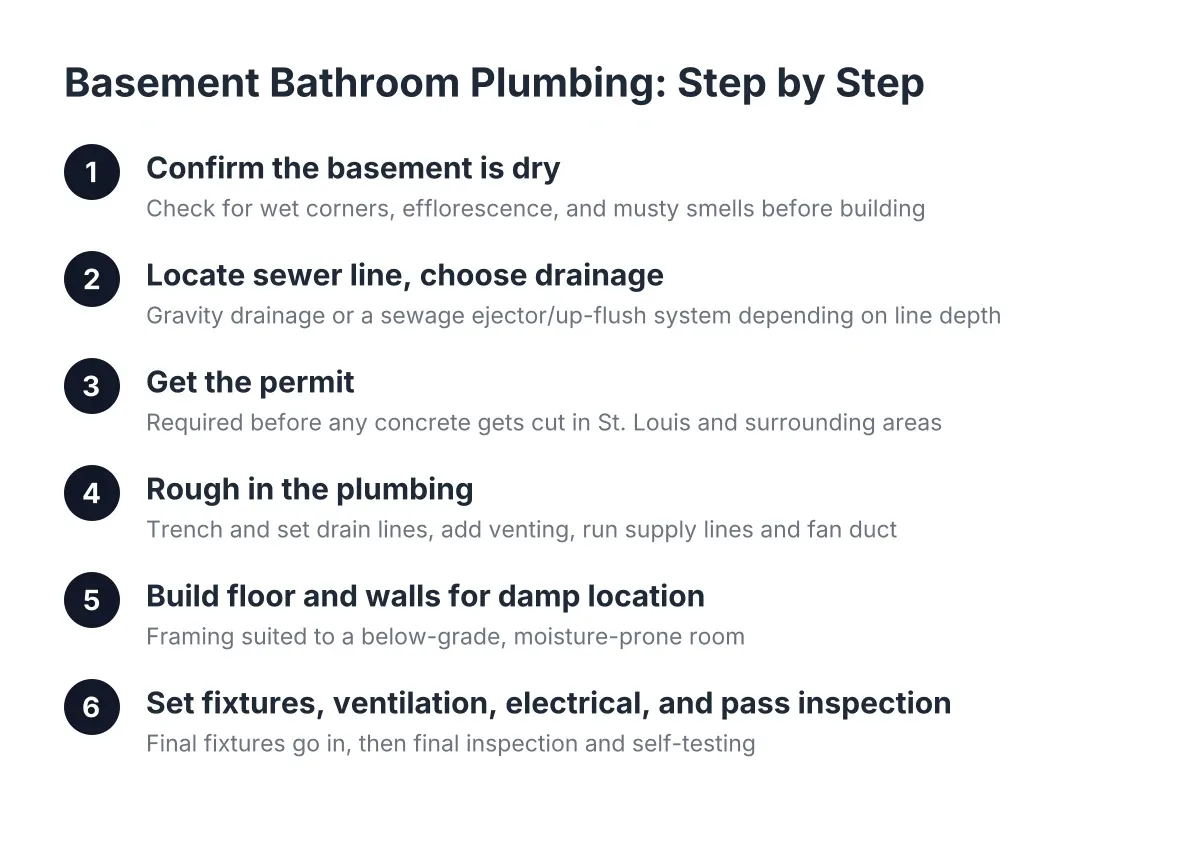
With the structure approved, the rest of the basement finishing process moves forward: clearing and layout, framing partition walls, insulation with fire blocking in the cavities, rough plumbing and electrical, drywall, subfloor, and flooring. Non-structural partition walls are simpler animals; they only need to hold drywall, not the house, which is part of why finishing goes faster once the structural questions are settled.
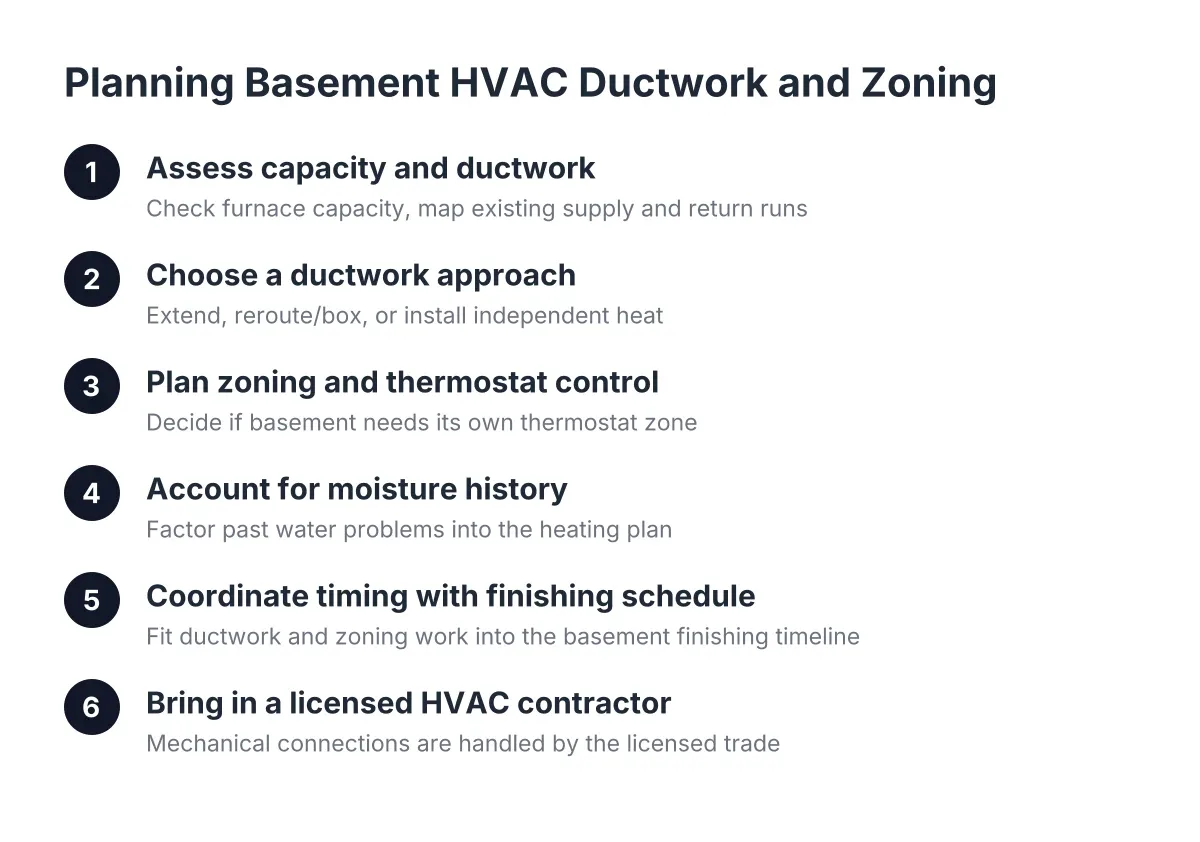
For example, short partition walls that do not reach a joist above may need ceiling braces added so the top plate has something to attach to. If your basement came with old framed walls and insulation stuffed against the concrete, it is often better to tear that assembly out and start fresh rather than build on top of an unknown. Moisture is the reason: a correct wall assembly needs a vapor retarder against the foundation and must still be able to dry if it gets wet.
In addition, if your foundation has a visible crack near the work area, standard practice is to leave a section of wall open or accessible so the crack can be re-measured over time. That small detail separates a careful basement job from one that hides problems behind drywall.
Removal vs. Reinforcement at a Glance
Here is the short version of the comparison, for planning purposes:
- Removal: opens the floor plan, requires engineered beam, posts, and footings, adds structural permit scope, costs more, and takes longer.
- Reinforcement: keeps the layout constraint, simpler engineering, lower cost, and the wall or post can often be absorbed into the room design.
- Both: require engineering documentation, a permit, temporary shoring, and inspections before cover-up.
- Neither should ever be done informally by a contractor who says the permit is unnecessary.
Illustratively, a family converting an unfinished basement into a playroom and guest suite might find reinforcement saves enough budget to fund the guest bathroom, while a family set on one large open room accepts the removal cost as the price of the layout. Both are legitimate answers; the mistake is deciding before the load path is assessed.
The Bottom Line for St. Louis Homeowners
Understanding wall removal vs. reinforcement decisions is the one part of a basement project where cutting corners can affect the whole house and follow you to closing day. Handled correctly, it is a well-worn sequence: assess, engineer, permit, shore, build, inspect. Handled informally, it becomes the unpermitted structural work a buyer's inspector flags five years from now.
Whichever direction your layout pushes you, hire a local contractor who treats the engineering and the permit as part of the job, walks you through the removal versus reinforcement trade-off with your actual joists in view, and keeps the paperwork you will want when you eventually sell.
If you need basement finishing, STL Basement Finishing can help.
Prefer to talk it through? Call (314) 916-6297 — a quick call is usually the fastest way to get a straight answer for your situation.