Basement Humidity and Moisture Control: 8 Steps Before You Finish a St. Louis Basement
If you have already decided to finish your basement, basement humidity and moisture control steps are the one part of the project you cannot skip or shortcut. St. Louis basements sit in clay soil, ride out humid summers, and take on vapor through concrete walls year round. Finish over a moisture problem and you will meet it again later, usually as mold behind drywall, cupped flooring, or a musty smell you cannot locate. Handle it first and your finished basement stays dry, warm, and worth what you paid for it.
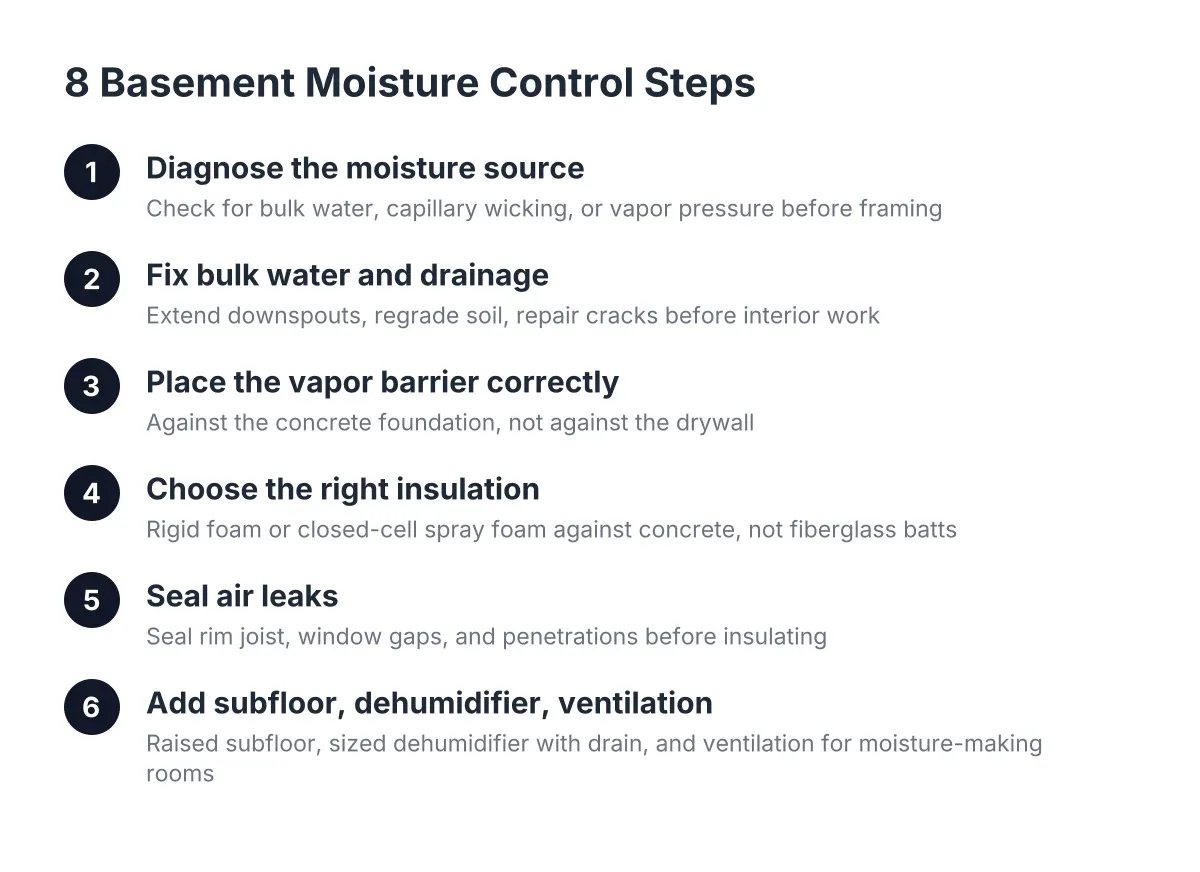
This is a list of eight moisture-control steps, in the order a basement-focused contractor works through them. It covers ventilation, dehumidifiers, vapor barriers, and where each belongs in the basement finishing process. If you just closed on a house with an unfinished lower level and want it done before you move furniture in, this is the checklist that protects that investment.
1. Diagnose the Source of Moisture Before Anything Gets Framed
Moisture management comes first, always. Insulating or framing over an unresolved water problem locks moisture into the wall assembly, and framed walls in a damp cavity degrade fast. Before any lumber shows up, you or your contractor should identify where moisture enters: bulk water from grading or gutters, capillary wicking through the concrete, or vapor pushed through porous walls by pressure from the surrounding soil.
That last one matters more than most homeowners realize. Basement moisture is typically driven by vapor pressure moving through porous concrete, so any fix that only treats symptoms, such as painting over damp spots, fails at the root cause. A simple test: tape a square of plastic sheeting to the bare concrete floor and wall, leave it two days, and check for condensation underneath. Moisture under the plastic means vapor is coming through the slab or wall and your finishing plan needs to account for it.
2. Fix Bulk Water and Drainage First, Then Move Inside
No interior moisture strategy survives standing water. Therefore, correct the outside problems before spending a dollar on interior finishes: extend downspouts at least several feet from the foundation, regrade soil so it slopes away from the house, and repair any visible cracks that leak during heavy rain.
For a recent buyer, this is worth doing in the first few months of ownership, before you know how the basement behaves in a spring storm. Suppose you closed in October on a home in South County and plan to finish the basement by summer. Waiting through at least one heavy rain season, or asking neighbors how water moves on the street, tells you whether you need a sump pump or drain tile before drywall. If the basement takes on actual water rather than just humidity, bring in a waterproofing professional before your finishing contractor starts; that is one place where a second trade is money well spent.
3. Put the Vapor Barrier in the Right Place, Not Just Any Place
Here is the misconception that ruins more finished basements than any other: homeowners assume any vapor barrier prevents moisture problems. In reality, a vapor barrier installed in the wrong location traps moisture inside the wall cavity and accelerates mold growth and rot in the framing. The classic mistake is stapling plastic sheeting to the interior side of the studs, the way you might in an above-grade wall. In a basement, that sheet stops moisture that enters the cavity from ever drying toward the room.
A correct basement wall assembly manages moisture in two directions. It keeps warm interior air from condensing on cold concrete, and it keeps soil moisture from wicking into the framing. The vapor retarder belongs against the concrete foundation, not against your drywall, and the whole assembly still needs a path to dry if it ever gets wet. Under the slab, the principle is the same: a vapor barrier placed over the base course beneath a concrete slab blocks moisture from transmitting out of the ground and into the concrete above, according to W. R. Meadows. Many older St. Louis homes never got one, which is exactly why the steps below exist.
4. Basement Moisture Control Steps: Choose the Right Insulation
The right basement insulation does two jobs. It holds heat, and it stops warm room air from reaching cold concrete where it would condense. Effective basement insulation has three traits:
- High R-value per inch, so you keep floor space in an already-low room
- Air impermeability, so humid room air cannot move through it to the cold wall
- Built-in vapor retarding ability, so it controls condensation without a separate plastic sheet in the wrong place
Rigid foam board sealed directly against the concrete, or closed-cell spray foam, checks all three boxes. Fiberglass batts stuffed against bare concrete check none of them; they let air through, they hold moisture, and they turn into a mold sponge. This is a spot where the cheaper material on the estimate costs you the most five years later, so ask any contractor quoting your job what insulation they use against the foundation wall and why.
5. Seal Air Leaks, Because Air Moves More Moisture Than Vapor Does
Air leakage deposits far more moisture into a wall cavity than vapor slowly diffusing through materials. As a result, airtightness is the single biggest factor in keeping a finished basement wall dry. A small gap at the rim joist or an unsealed penetration where a pipe passes through the wall can carry more humid air, and more moisture, into the cavity in one muggy July week than the concrete passes through all year.
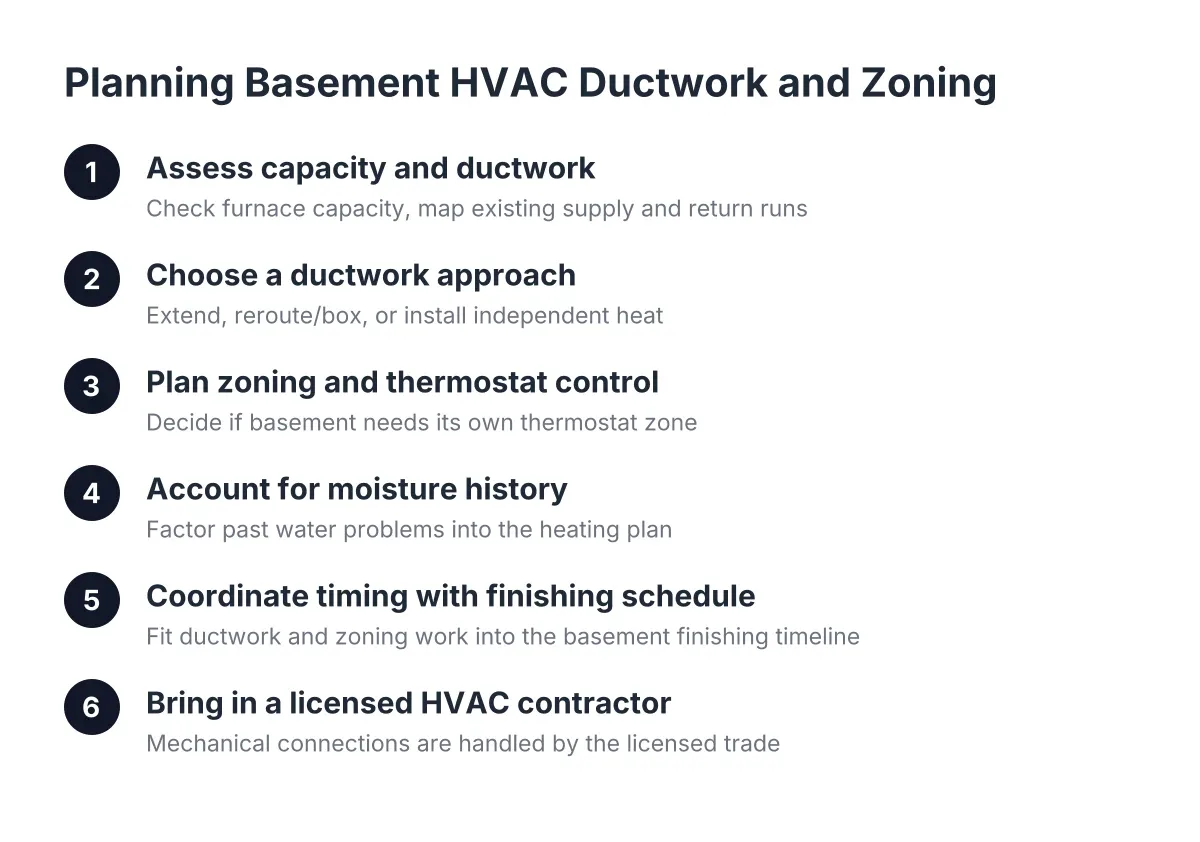
Before insulation goes in, seal the rim joist area, gaps around windows, and every plumbing and electrical penetration with foam or caulk. This step is cheap, unglamorous, and invisible once the drywall is up, which is exactly why rushed crews skip it. It also improves comfort; a tight basement holds heat better, which matters when you add basement heating to the lower level.
6. Use a Raised Subfloor So the Slab Can Breathe Under Your Flooring
Concrete slabs pass vapor upward, even slabs in decent shape. Lay carpet pad or hardwood directly on that concrete and the moisture has nowhere to go except into your flooring. A dimpled-membrane subfloor panel, or a plywood subfloor over a dimpled underlayment, lifts the finished floor slightly off the slab. That air gap lets vapor under the floor migrate toward drier zones and escape instead of accumulating under your carpet. Implementing these basement moisture control steps—including a raised subfloor beneath the finished surface—prevents long-term damage.
There is a bonus most homeowners never hear about: when the gap under the floor connects with the airspace behind the wall insulation, moisture in both zones can equalize and dry rather than pool in one place. In addition, a raised subfloor is worth installing even if your slab already has a vapor barrier under it, because it protects the finished space from future moisture events like a water heater leak or a backed-up floor drain. One honest trade-off: a subfloor system adds height and cost per square foot, and in a basement with tight ceiling clearance you may need to weigh that inch against headroom near ductwork.
7. Size a Dehumidifier for the Space and Give It a Drain
St. Louis summers push outdoor dew points high enough that even a well-sealed basement needs active humidity removal. A dehumidifier is not an admission that something is wrong; it is standard equipment for a finished lower level here. Target indoor relative humidity around 50 percent or below, and pick a unit rated for the full square footage of the finished space, not the smallest one on the shelf.
Two practical details make the difference between a dehumidifier that works and one that gets unplugged by November. First, route the condensate to a floor drain, utility sink, or condensate pump so nobody has to empty a bucket twice a day. Second, place the unit where air can circulate through it, not shoved into a closed storage closet. If you are finishing the basement as part of a move-in renovation budget, plan a dedicated outlet and drain path for the dehumidifier during the framing stage; retrofitting one after drywall is a nuisance.
8. Ventilate the Rooms That Make Their Own Moisture
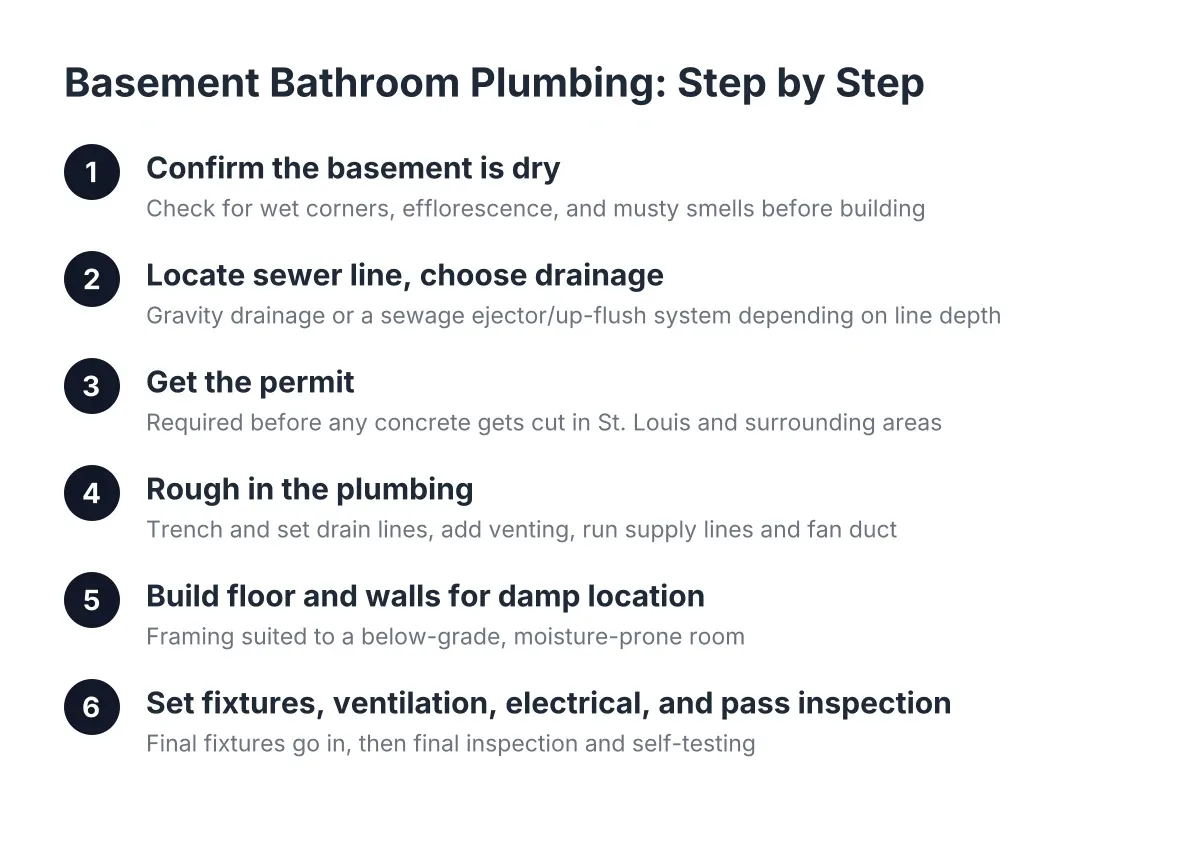
A basement bathroom is the biggest moisture generator you can add downstairs, and it needs its own exhaust fan ducted to the exterior, not into the joist bays or the attic. The same logic applies to a basement bar with a sink or dishwasher, and to any laundry area sharing the space. Every one of these adds water vapor to a room that already fights humidity from below.
This is also where the permit question gets simple instead of scary. Adding a bathroom means plumbing and electrical work, and in St. Louis that work gets permitted and inspected. For a homeowner nervous about doing things the legal way, that inspection is a feature, not a delay; an inspector confirming the exhaust fan actually ducts outside is one less hidden defect to explain to a buyer's inspector when you sell. A contractor who handles permits as a normal part of the job, rather than telling you "we don't usually need one," is also the contractor least likely to bury a moisture problem behind drywall.
Why Basement Humidity and Moisture Control Decides Whether the Finish Lasts
Every one of these eight steps exists because moisture is the failure mode that undoes finished basements. Framing, drywall, flooring, and paint are the visible parts of the project; basement humidity moisture control is the invisible system that lets them survive a St. Louis climate. Get the sequence right, drainage first, then vapor control, then airtight insulation, then subfloor, then active dehumidification, and the finished space stays dry through humid Augusts and wet springs alike.
If you are comparing bids right now, searching basement finishing near me and lining up estimates, use this list as an interview script. Ask each contractor where the vapor retarder goes, what insulation touches the concrete, whether they install a raised subfloor, and how they handle bath exhaust. Their answers will tell you quickly who treats moisture as step one of the basement finishing process and who treats it as someone else's problem after the check clears.
Basement Moisture Control Steps: A Quick Checklist
Before finishing work starts, confirm each item:
- Moisture source diagnosed, including a plastic-sheet vapor test on slab and walls
- Gutters, downspouts, and grading directing water away from the foundation
- Vapor retarder planned against the concrete, never stapled to the interior studs
- Air-impermeable basement insulation such as rigid foam or closed-cell spray foam specified
- Rim joist and all penetrations air sealed before insulation
- Raised or dimpled-membrane subfloor under the finished flooring
- Dehumidifier sized for the space with a permanent drain path
- Bathroom and wet-bar areas exhausted to the exterior, with permits pulled for the plumbing and electrical
None of this is exotic in 2026; it is standard practice for anyone who finishes basements for a living. However, every basement is different, and a house with active water intrusion, a failing foundation wall, or persistent standing water needs a professional evaluation before any finishing plan makes sense. Get the moisture story right first, and the bar, bathroom, and living space you are planning will still look and smell like new long after the renovation loan is paid off.
If you need basement finishing, STL Basement Finishing can help.
Prefer to talk it through? Call (314) 916-6297 — a quick call is usually the fastest way to get a straight answer for your situation.