DIY Basement Flooring Epoxy vs. Hiring a Contractor: A Step-by-Step Reality Check
If you have already decided that basement flooring epoxy is the right call for your lower level, the next decision is whether you roll it on yourself or pay someone to do it. That choice matters more in St. Louis than in most places, because our slabs sit on clay soil that holds moisture, and epoxy is unforgiving over a damp floor. This guide walks you through the actual steps of an epoxy job, flags where DIY kits go wrong, and shows you where the money goes when a contractor does it, so you can make the call with your budget in front of you.
One thing up front for the budget-focused reader: the material for a DIY basement floor epoxy kit is cheap compared to almost any other finished floor. The labor is where the real cost lives, whether you spend it in your own weekends or write a check. Work through the steps below and you will know which side of that trade you want to be on.
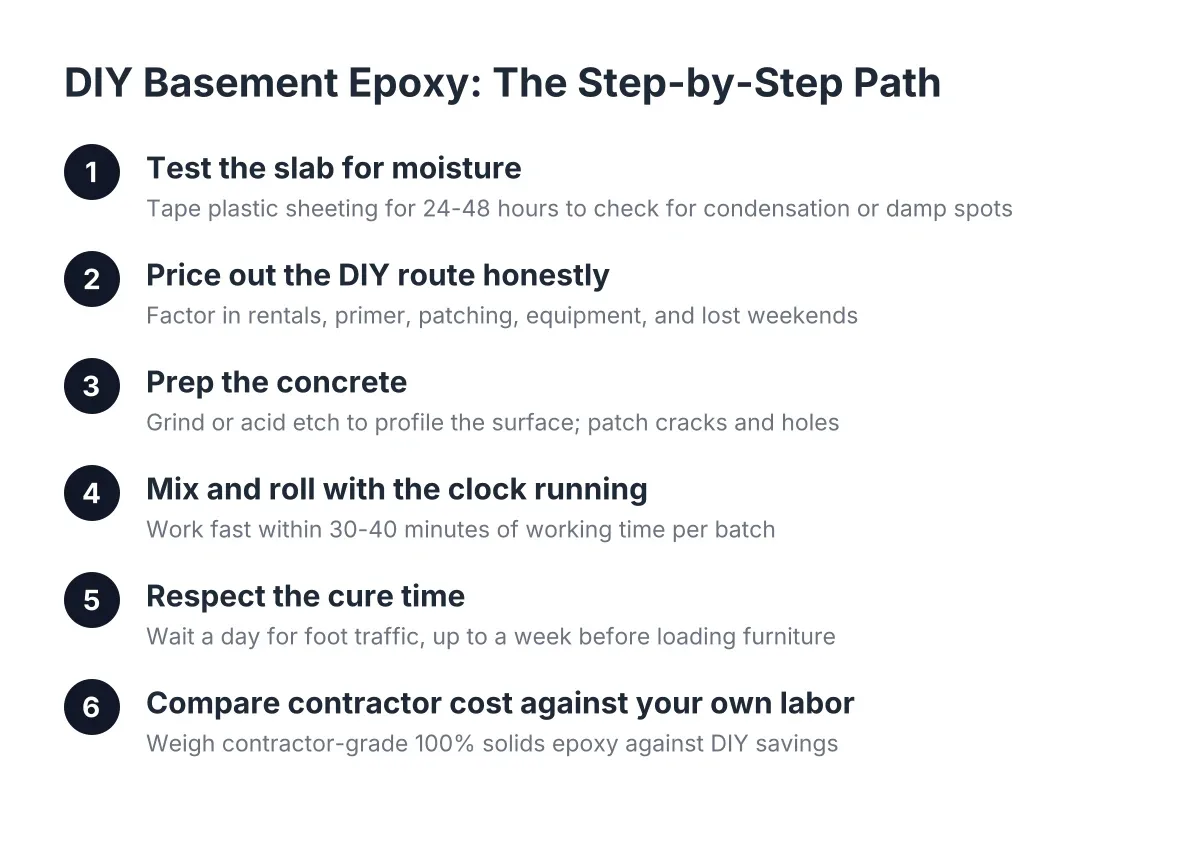
Step 1: Test Your Slab for Moisture Before You Buy Anything
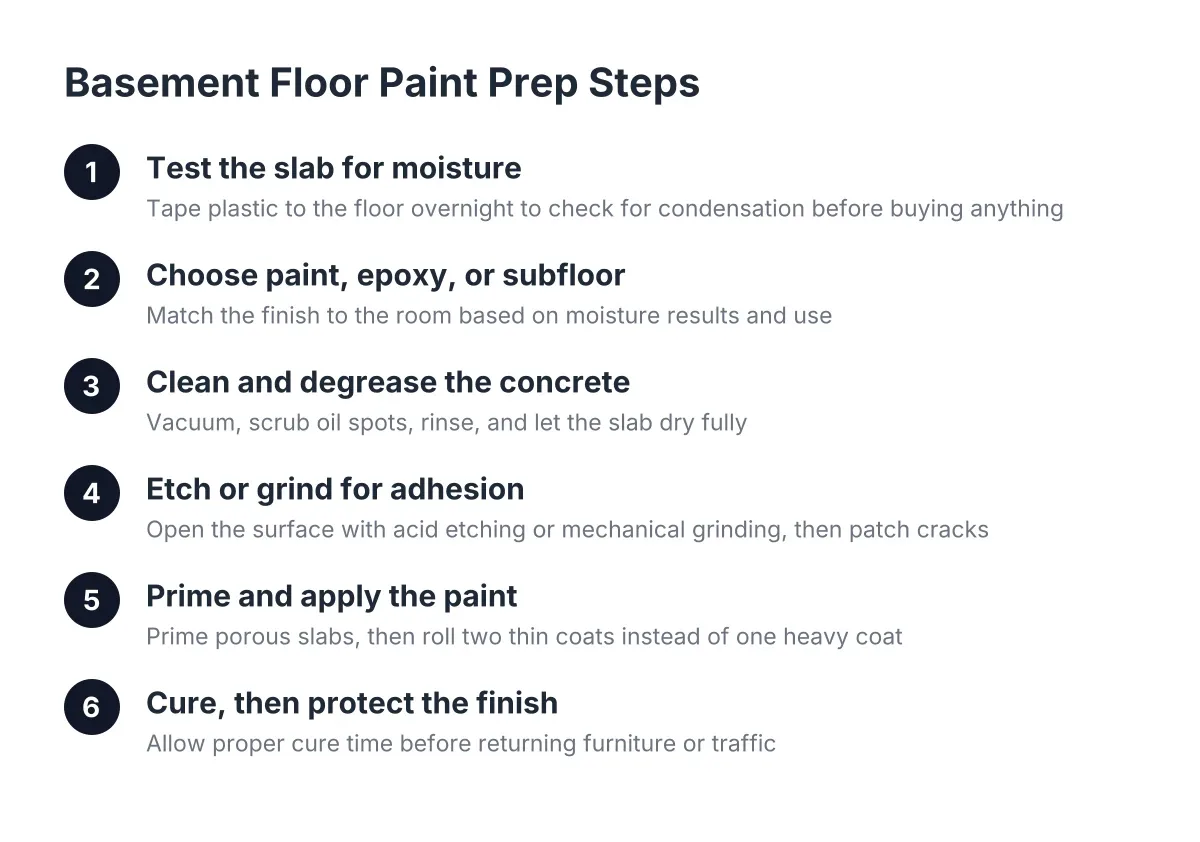
Do this before you spend a dollar on a basement floor epoxy kit. Tape a two-foot square of plastic sheeting to the concrete, seal all four edges, and leave it for 24 to 48 hours. If you find condensation under the plastic or a dark, damp spot on the slab, moisture is coming up through the concrete.
This is the single most common reason epoxy fails in a basement. Epoxy is a film that bonds to the surface; vapor pushing up from below will lift it in sheets or raise blisters. Under a properly built slab, a vapor barrier over the base course is meant to block moisture transmission from the ground into the concrete, according to W. R. Meadows. However, many older St. Louis homes were poured without one, or the barrier has long since failed.
If your plastic test comes back wet, stop. You need a moisture-mitigating primer, a drainage fix, or a different flooring approach entirely. A contractor can measure vapor emission properly and tell you whether epoxy is even a candidate, and that assessment is worth having before you commit either way.
Step 2: Price Out the DIY Basement Flooring Epoxy Route Honestly
A hardware-store epoxy paint kit looks like the cheapest finished floor you can put in a basement, and on materials alone, it is. Before you commit, list everything the box does not include:
- A grinder or shot blaster rental to profile the concrete, plus diamond cups or abrasive
- Crack filler and patching compound for spalls, divots, and old anchor holes
- A moisture-blocking primer if your slab test showed any dampness
- Spiked shoes, notched squeegees, quality rollers, and mixing equipment
- A second coat or topcoat, since most single-kit coverage numbers assume a smoother slab than you actually have
- Your own weekends, usually two to three of them for prep, patching, coating, and cure time
In addition, understand what you are buying. Most DIY kits are one-part epoxy paint or water-based two-part products. They go on thin, and thin coatings wear through in traffic lanes and hot-tire or furniture-drag spots. Contractor-grade 100 percent solids epoxy builds a thicker, harder film, but it has a short working time and punishes slow rollers, which is exactly why installers charge for it.
Step 3: Prep the Concrete, Because This Step Decides the Outcome
Surface prep is the part of an epoxy job that decides how it turns out, and it is also the part homeowners most often skip or shortcut. Epoxy does not stick to smooth, sealed, or dusty concrete. It needs a profiled surface, something like fine sandpaper, which you get by grinding or acid etching.
Acid etching is what most kits recommend because it is cheap. It is also inconsistent. Etching does nothing against old sealers or curing compounds, and rinsing the acid means putting water on the slab you are about to coat, then waiting days for it to dry. Grinding is the reliable method, but a rented grinder in an enclosed basement produces serious dust and takes real physical effort over a few hundred square feet.
While you are down there, patch cracks and holes. For small repairs, sand mix concrete gives you a smoother, more finished patch surface than standard mix, which matters under a thin coating that telegraphs every ridge. Blisters in the cured slab itself, by the way, come from trapped air, often from floating the surface too soon or from a vapor barrier stopping water from absorbing into the subgrade, according to NRMCA. Grind those flat too.
Step 4: Mix and Roll With the Clock Running
Two-part epoxy starts curing the moment you mix it. Depending on the product and your basement temperature, you may have 30 to 40 minutes of working time per batch. Mix too much, and it hardens in the bucket. Roll too slowly, and you get lap lines and thickness variation you will see forever, especially with darker basement floor epoxy colors that show every flaw.
Temperature and humidity matter too. A cool, humid St. Louis basement in spring slows cure and can cause a cloudy blush on the surface. Plan the job for a stretch of dry weather, run a dehumidifier beforehand, and check that the slab temperature meets the product minimum.
Therefore, work in a strict sequence: cut in edges, then roll manageable sections back toward your exit, broadcasting decorative flakes as you go if you want them. Wear spiked shoes so you can walk on wet material. Have a second person mixing while you roll. This is a two-person job at any real square footage.
Step 5: Respect the Cure Time Before You Load the Room
Epoxy needs time to reach full hardness. Foot traffic is usually fine after a day or so; furniture, gym equipment, and pool tables need longer, often several days to a week depending on the product. Moving your sectional down early will leave permanent dents and drag marks in a floor you just spent three weekends on.
For example, suppose a couple closes on a house in South County in late summer and wants the basement usable before their furniture arrives in three weeks. In that scenario, a DIY epoxy job eats two full weekends of prep and coating, plus cure time, and one rain-soaked week of high humidity can push the whole schedule past their move-in date. A crew doing the same floor compresses prep, coating, and cure management into a few days because they grind faster, mix continuously, and use products they know.
Step 6: Compare Contractor Basement Flooring Epoxy Against Your Own Labor
Is hiring out an epoxy floor worth the price difference? For most finished basements that will see daily use, yes, because the contractor's price buys mechanical grinding, moisture testing, thicker commercial-grade material, and someone who owns the result if it peels. A DIY kit saves real money only when your slab is dry, sound, and headed for light use.
Here is the honest breakdown of what a professional basement flooring epoxy job includes that a kit does not:
- Moisture testing and, when needed, a vapor-blocking primer matched to the reading
- Diamond grinding with dust extraction instead of acid etching
- Crack repair and slab flattening before any coating goes down
- 100 percent solids epoxy at a film thickness kits cannot match
- A urethane or polyaspartic topcoat for scratch and UV resistance
- Accountability, meaning a defined scope and price before work starts instead of surprises mid-project
When you collect quotes in 2026, make contractors itemize those line items. A low bid that skips moisture testing or grinding is not a cheaper version of the same floor; it is a different, shorter-lived floor. That is the same corner-cutting worry you should have with any cheap basement finishing quote, and asking for the prep scope in writing is how you screen for it without sitting through a sales pitch.
Step 7: Confirm Epoxy Still Fits the Room You Are Actually Building
Epoxy is a hard, cool, sound-reflective surface. That is perfect for a utility room, workshop, or basement gym, and coating a utility room floor keeps concrete dust from tracking into the finished living space every time the door opens. It is a tougher fit for a media room or kids' play area, where carpet costs less than premium hard-surface flooring and quiets the echo that hard floors create in a basement.
As a result, plenty of St. Louis basement finishing projects mix materials. Epoxy in the mechanical and laundry area, then carpet tiles or LVP over a plywood subfloor in the living zones, keeps the budget focused where each material earns its keep. Carpet tiles in a basement also let you replace a single square after a spill or a minor leak instead of recarpeting the room. Rubber flooring for basement gyms is another practical layer, and it goes down fine over cured epoxy. If you are still weighing the full menu, it helps to compare basement flooring options side by side on moisture tolerance, comfort, and cost per square foot before locking anything in.
One caution: if your basement finishing plan includes framing, a basement bathroom, or moving anything near a load-bearing wall, flooring is the last decision, not the first. Permits and rough-in work come before coatings, and a local contractor can sequence it so you are not coating a floor you will later cut open. Electrical and HVAC work in particular belong with licensed trades even if you handle the rest yourself.
The Bottom Line for the Budget-First Homeowner
Basement flooring epoxy rewards preparation and punishes shortcuts. If your plastic-sheet test comes back dry, you own or can rent a grinder, and the room is a workshop or gym rather than a showpiece, a DIY kit can deliver a durable floor at the lowest cost per square foot of any finished surface. Go in knowing the box price is a fraction of the true cost once tools, primer, and your weekends are counted.
If the slab shows moisture, the square footage is large, or the basement is part of a bigger finishing project with a bar, bathroom, or move-in deadline attached, pay for the professional version. You are not paying for someone to roll paint; you are paying for grinding, moisture control, thicker material, and a floor that is still bonded five years from now. Either way, run the moisture test first. It is free, it takes two days, and it answers the question every other decision depends on.
If you need basement finishing, STL Basement Finishing can help.
Related guide: basement flooring options — Complete Guide
Prefer to talk it through? Call (314) 916-6297 — a quick call is usually the fastest way to get a straight answer for your situation.