What’s Included in a Basement Finishing Estimate and Timeline: A Step-by-Step Review Guide
Before you sign anything, you should know exactly what's included in a basement finishing estimate review, and just as important, what isn't. Plenty of St. Louis homeowners get burned not by bad contractors but by vague paperwork: a one-page quote that says "finish basement, $28,000" with no breakdown of framing, subfloor, electrical, or who pulls the permit. This guide walks you through reviewing an estimate and timeline line by line, so you can compare bids fairly and spot the gaps before they become change orders.
This matters most if you want more than a basic box. Suppose you are picturing a basement bar with a quartz top, a half bathroom, and carpet in the TV area. That project touches plumbing, electrical, load-bearing framing, and finish carpentry. A thin estimate cannot cover all of that honestly, and the contractor who hands you one is hoping you do not ask.
Step 1: Ask for a Line-Item Estimate, Not a Lump Sum
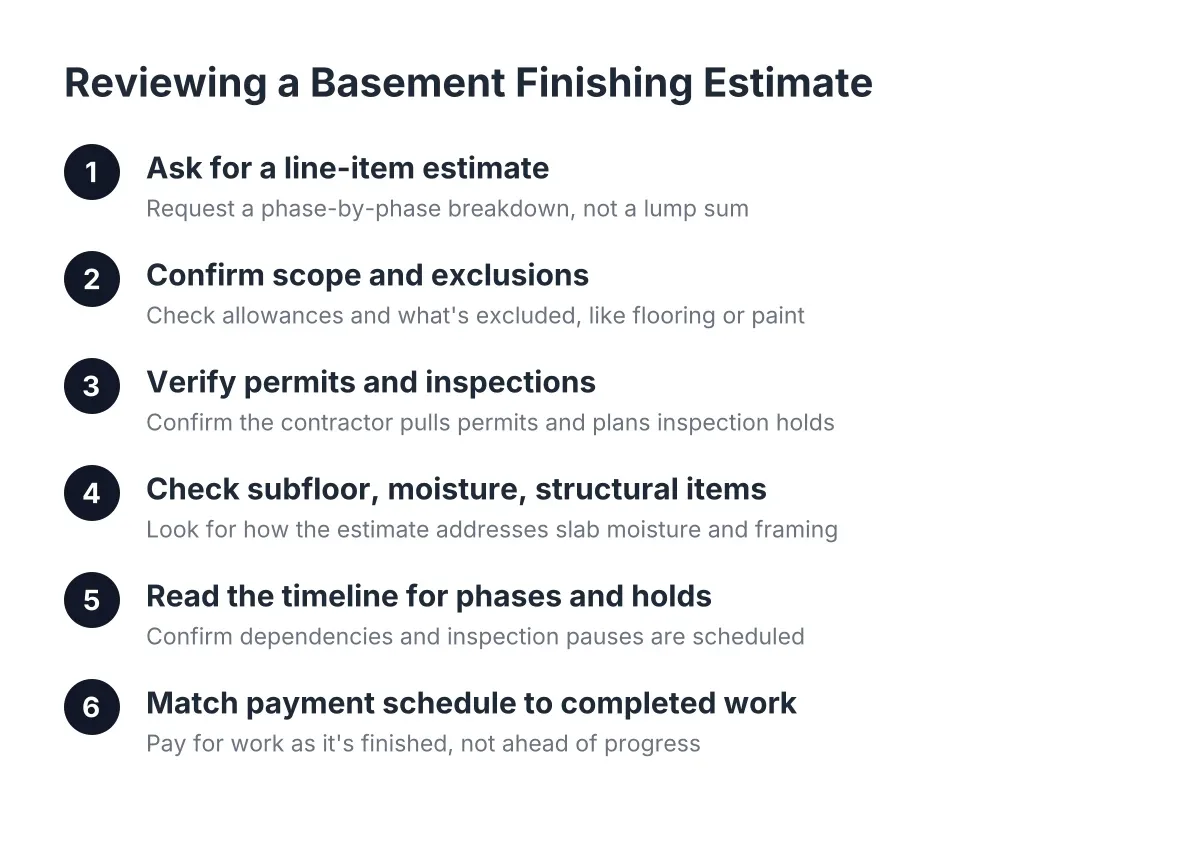
Request a written estimate that breaks the project into phases with a price attached to each. A single number tells you nothing about what the contractor actually plans to build. A line-item estimate forces both of you to agree on scope before money changes hands.
At minimum, a complete basement finishing estimate should itemize:
- Design and permit handling, including who applies and who pays the fee
- Demolition or cleanout of the existing space
- Framing, with any load-bearing wall work called out separately
- Electrical rough-in and fixtures, with outlet and lighting counts
- Plumbing rough-in and fixtures if you are adding a basement bathroom or bar sink
- HVAC or basement heating, including how the new space gets conditioned air
- Insulation and drywall, including taping and finish level
- Subfloor, such as a plywood subfloor over the concrete slab
- Flooring, with the material named (carpet versus hardwood or vinyl plank)
- Trim, doors, paint, and finish carpentry
- Bar construction, cabinetry, and countertops if applicable
If a line is missing, ask whether it is excluded, included somewhere else, or forgotten. Each of those answers tells you something about how the job will run.
Step 2: Basement Finishing Estimate Review — Confirm Scope and Exclusions
Read the exclusions as carefully as the inclusions. However clean the itemized list looks, the fine print often carries phrases like "flooring by owner" or "paint not included." Those are legitimate ways to structure a bid, but only if you notice them when comparing against a contractor who included everything.
Pay attention to allowances. An allowance is a placeholder budget for items you have not picked yet, like bar countertops or bathroom fixtures. A low allowance makes a bid look cheap on paper; when you pick real materials, the price climbs. If you are the homeowner who found that walnut bar top on Pinterest, ask the contractor to price the actual look you want, not a generic placeholder.
Also confirm who handles the unglamorous items: dumpster and debris removal, floor protection on the stairs, daily cleanup, and touch-up after inspections. In addition, get clarity on trim. Homeowners regularly underestimate how much baseboard, casing, and paneling a finished basement needs, and trim labor can be a meaningful share of the finish work. An estimate that glosses over trim is an estimate that will grow.
Step 3: Verify Permits and Inspections Are in the Price
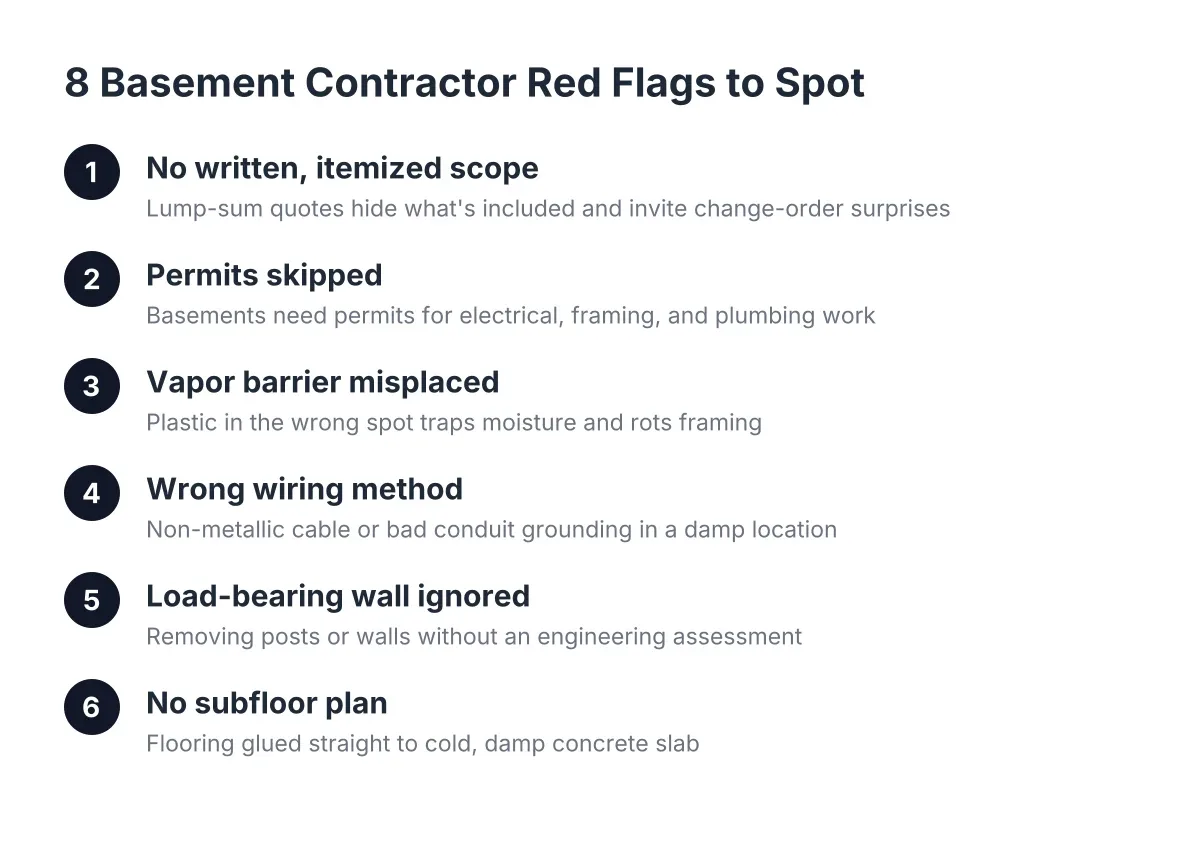
In St. Louis, finishing a basement that adds walls, circuits, or plumbing requires a permit, and the estimate should state plainly that the contractor is pulling it. If the answer to "do I need a permit" is a shrug, or a suggestion that you pull it yourself as the homeowner, treat that as a red flag. A contractor who avoids permits is avoiding inspections.
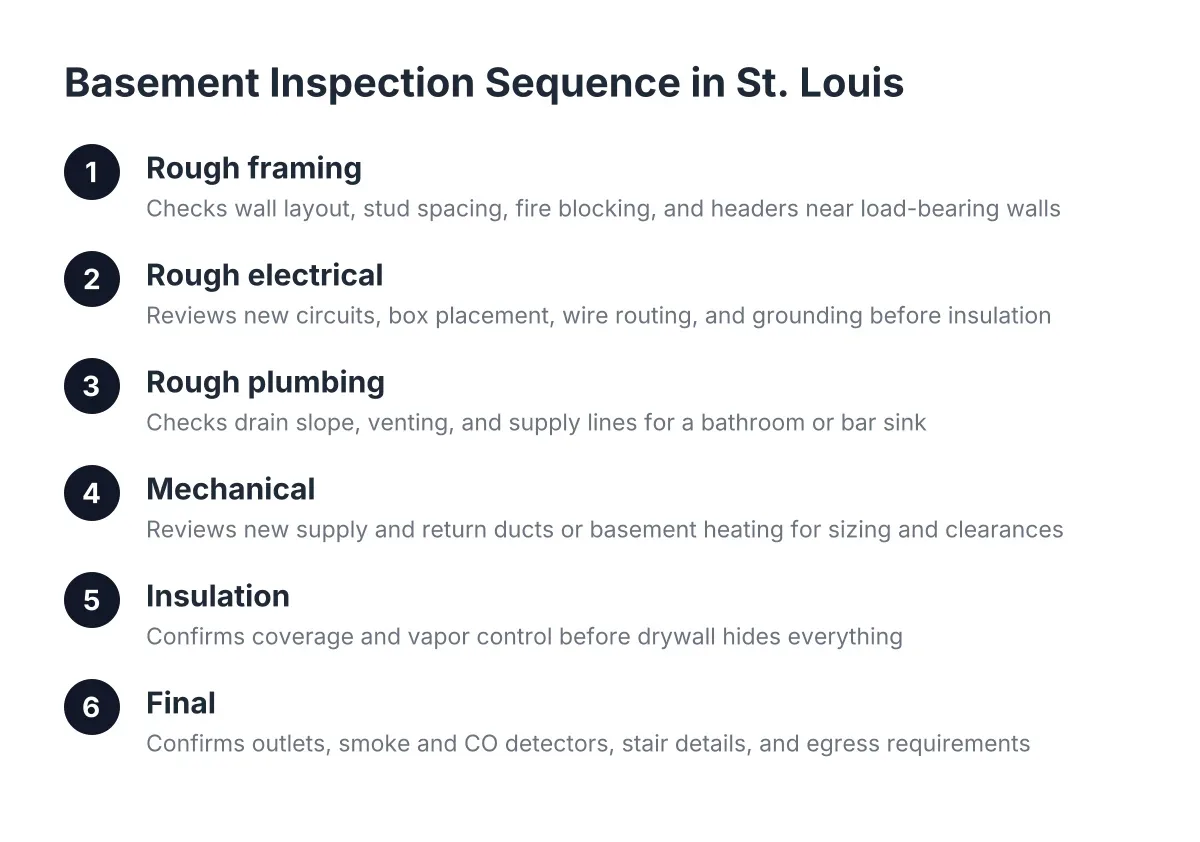
Expect the timeline to account for multiple inspection points, not one final walkthrough. For example, projects typically need an electrical rough-in inspection before insulation goes in, and then a separate insulation inspection before drywall closes the walls. Each inspection is a scheduled pause. An estimate and timeline that never mention inspections were written by someone who is not planning around them.
As of 2026, St. Louis area municipalities each run their own permitting offices, and requirements vary between the city and surrounding St. Louis County municipalities. A local contractor who works basements week in and week out should be able to tell you which office governs your address and how that affects sequencing.
Why Licensed Trades Belong in the Basement Finishing Estimate Review
Electrical, plumbing, and HVAC work on a basement finish should be performed by licensed trade professionals, and the estimate should say whether those trades are subcontracted or in-house. This is not bureaucratic box-checking. One sourced example of why wiring details matter: non-metallic sheathed cable (Romex) is not considered best practice for exposed conduit runs, and running it inside EMT is against code in damp or wet locations, according to the National Electrical Code (NFPA 70). Basements are exactly where damp-location rules bite. You want a bid from someone who knows that before the inspector points it out.
Step 4: Check the Subfloor, Moisture, and Structural Line Items
The items under your feet and behind the drywall separate a real basement specialist from a generalist who treats basements as an add-on. Three things to look for in what's included in basement finishing bids for a below-grade space:
First, moisture strategy. Concrete slabs transmit ground moisture, which is why vapor barriers exist; a vapor barrier under a slab blocks moisture transmission from the ground into the concrete above, according to W. R. Meadows. Your contractor cannot change what is under your existing slab, but the estimate should say how the finished floor deals with slab moisture, whether through a plywood subfloor system, an underlayment, or a flooring choice rated for below-grade use.
Second, subfloor versus flooring directly on concrete. A plywood subfloor adds cost but gives you a warmer, drier base, which matters if you want carpet in the media area. If one bid includes a subfloor and another glues flooring to the slab, those are not comparable prices. Ask each contractor to explain the choice.
Third, structural work. If your vision involves opening up the space, any load-bearing wall assessment and the required framing or beam work must appear as its own line. No contractor can price structural changes honestly inside a lump sum. One honest limitation here: if your basement has active water intrusion or foundation movement, finishing should wait; address the root cause with the appropriate professional first, because no finish package fixes a wet basement.
Step 5: Read the Timeline for Phases, Dependencies, and Inspection Holds
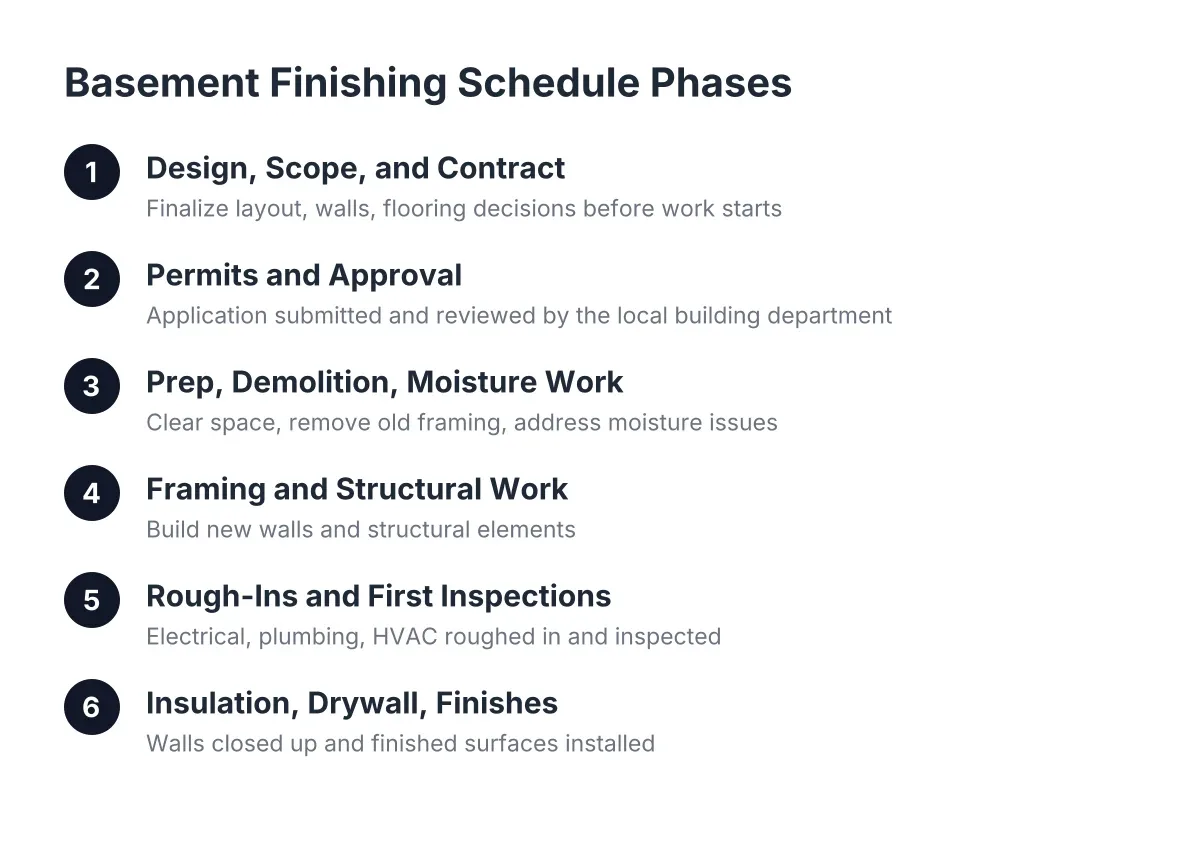
A credible timeline is a sequence, not a single end date. It should show the order of operations: permit approval, demolition, framing, rough-in trades, inspections, insulation, drywall, flooring, trim, and finish work. Each phase depends on the one before it, and inspections create hold points the contractor does not fully control.
Therefore, judge the timeline by its structure rather than its optimism. Ask three questions: What has to happen before drywall? Where are the inspection holds? Which selections do I need to make, and by when? Your tile, flooring, and bar hardware choices have lead times, and late selections stall jobs more often than slow crews do. A contractor who hands you a selections deadline alongside the schedule is planning the job, not guessing at it.
Be wary of a timeline with no contingency language at all. Hidden conditions behind old paneling, inspection scheduling, and material lead times all shift dates. The honest version names those risks up front.
Step 6: Match Payment Schedule to Completed Work
The payment schedule should track the phases in the estimate. A reasonable structure ties each payment to visible progress: a deposit at signing, a draw after rough-in passes inspection, another after drywall, and a final payment at completion. Walk away from any structure that front-loads most of the money before meaningful work starts.
This step is also where hiring a contractor becomes a paperwork decision, not a handshake. Get the scope, exclusions, allowances, payment schedule, and change-order process into one signed document. A change-order clause matters more than homeowners expect; it defines how price changes get approved in writing, so "while we were in there" surprises do not show up on the final invoice.
Step 7: Compare Bids on Scope Before Price
Only after steps 1 through 6 should you compare dollar figures. Say a St. Louis homeowner collects three bids for a basement with a bar and half bath, and they land at hypothetical figures of $24,000, $31,000, and $36,000. In that scenario, the cheapest bid might exclude the subfloor, carry a bare-minimum countertop allowance, and leave permits to the homeowner. The middle bid might include everything but specify builder-grade finishes. The highest might match your Pinterest board down to the bar lighting. None of them is wrong; they are different projects wearing the same label.
To compare fairly, normalize the scopes. Build a simple checklist from your own line items and mark what each bid includes:
- Permit handling and all inspections
- Subfloor and moisture approach, stated in writing
- Electrical and plumbing by licensed trades, with fixture counts
- Heating for the new space
- Realistic allowances priced to your actual selections
- Trim, paint, and finish carpentry
- Cleanup, debris removal, and site protection
The bid that survives this comparison is rarely the cheapest one. It is the one where the question of what's included in the basement finishing estimate review has a clear, written answer for every line. That clarity is what actually protects your budget, your schedule, and the bar you have been picturing since the last party you hosted upstairs.
If you need basement finishing, STL Basement Finishing can help.
Prefer to talk it through? Call (314) 916-6297 — a quick call is usually the fastest way to get a straight answer for your situation.